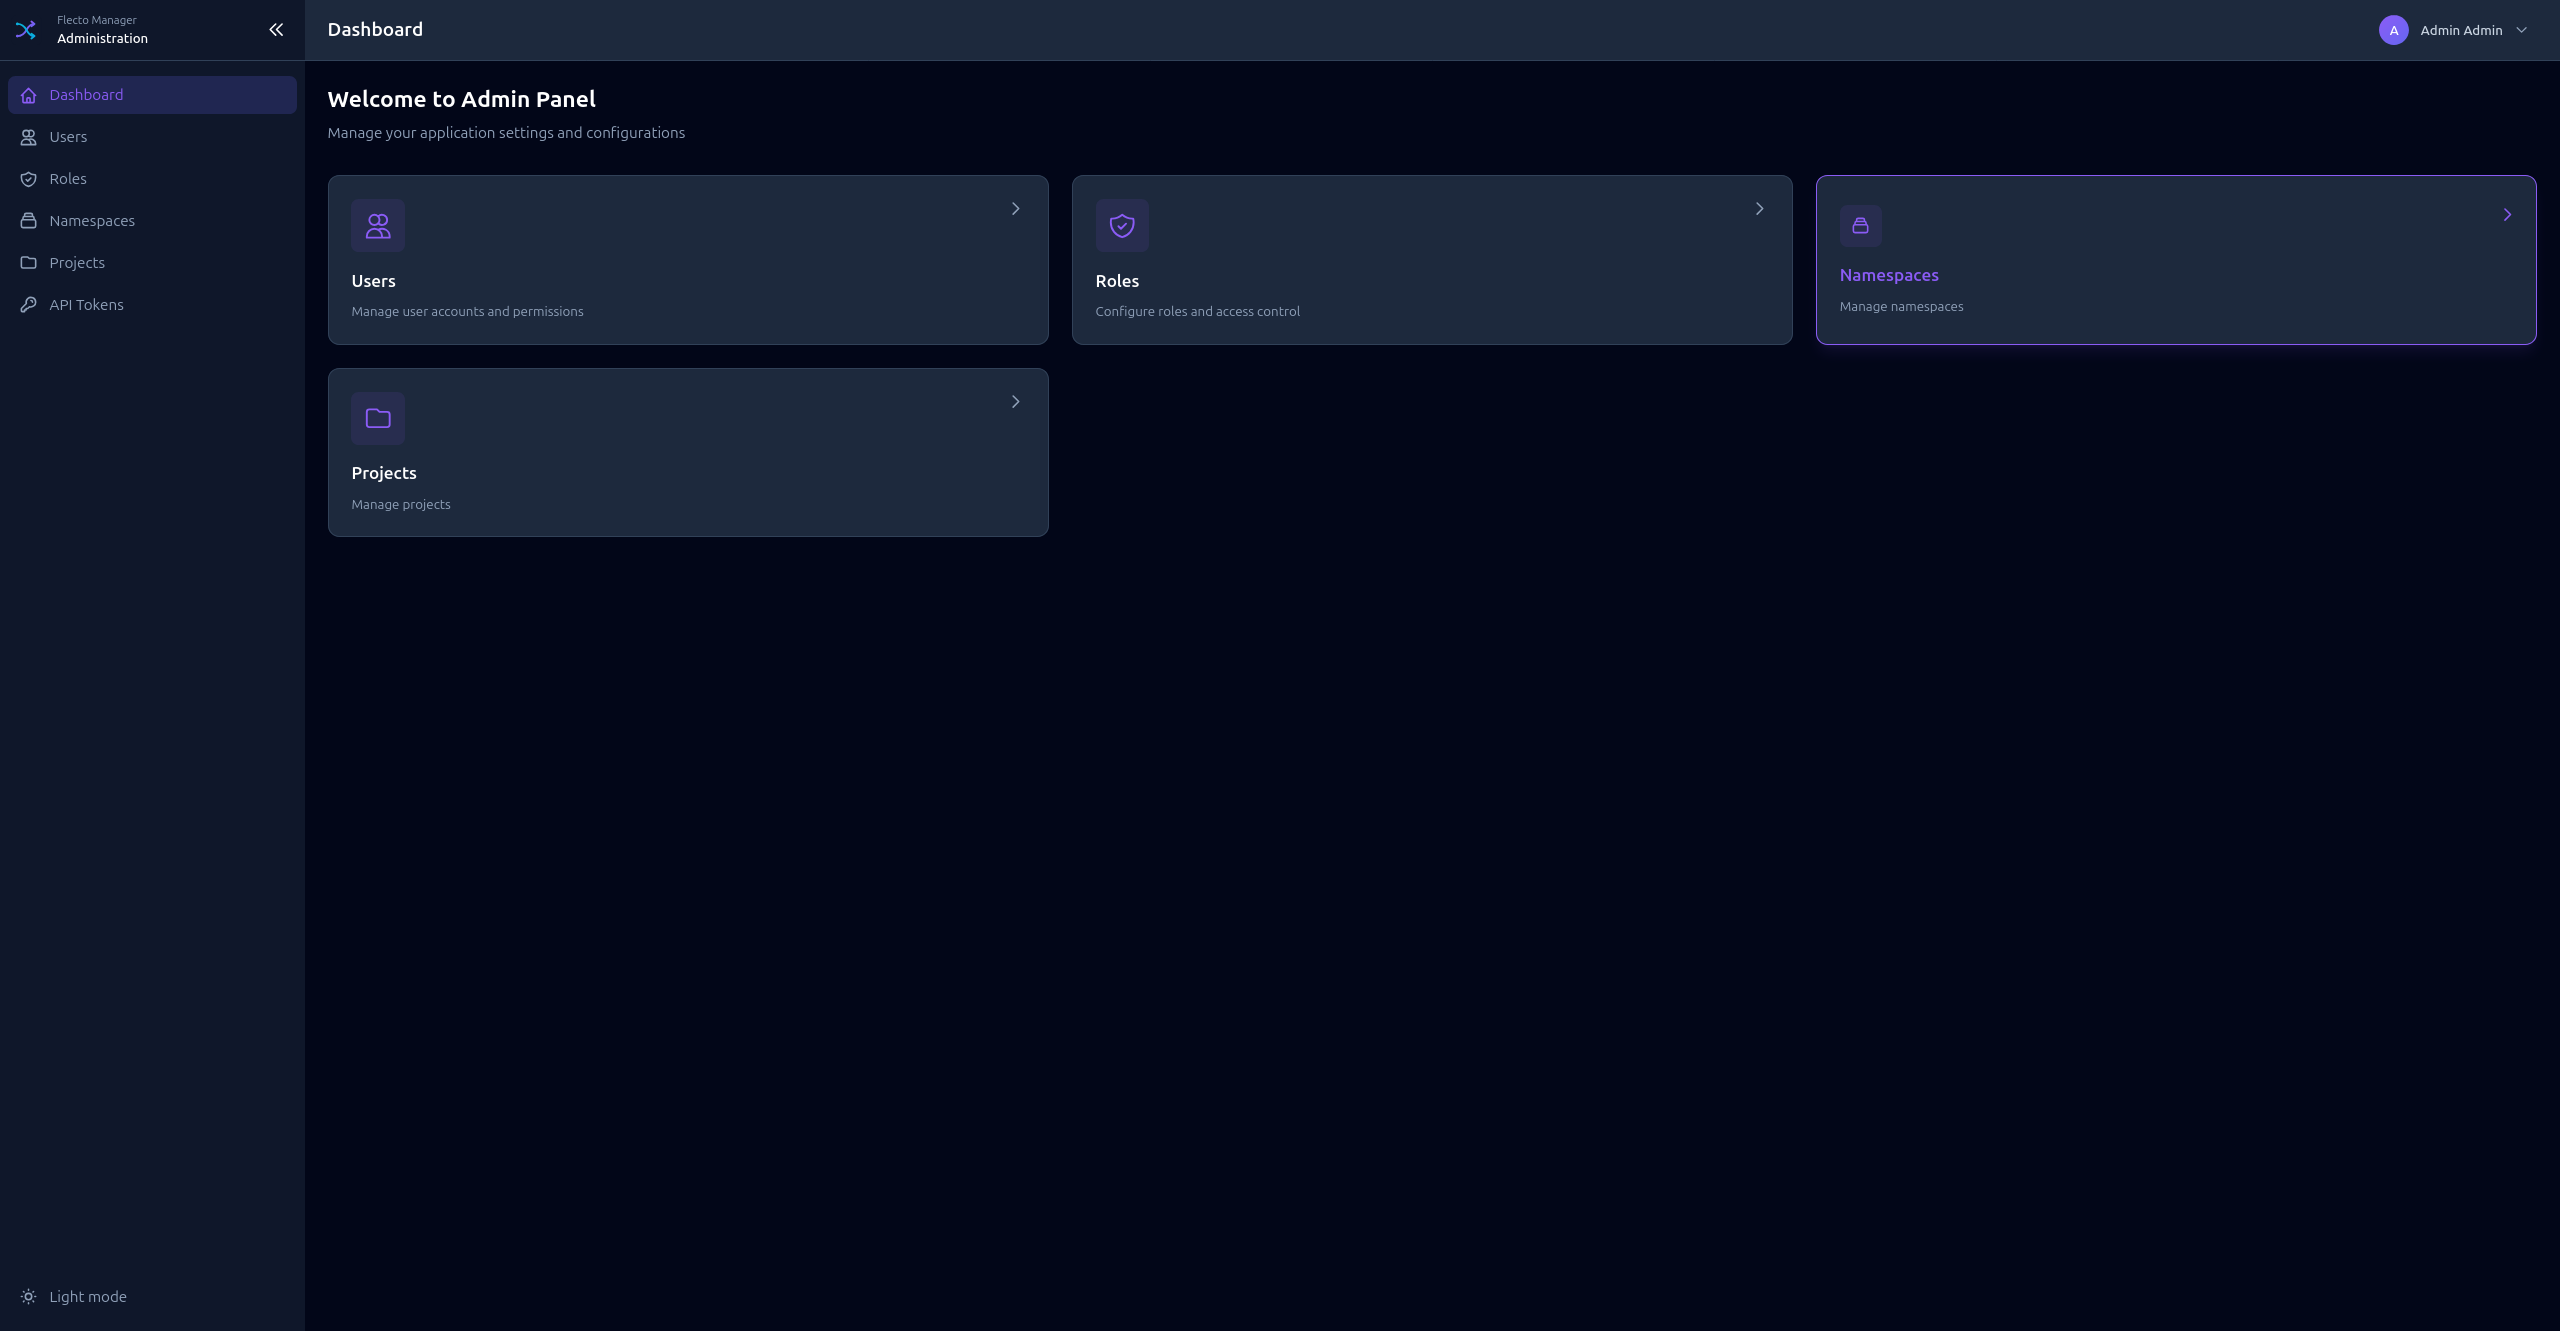
Administration
The administration interface is for managing users, roles, namespaces, projects, and API tokens.
Access it via the Admin link in the header or directly at /admin/
Navigation
The admin sidebar provides access to:
- Dashboard - Administration overview
- Users - Manage user accounts
- Roles - Configure roles and permissions
- Namespaces - Manage namespaces
- Projects - Manage projects
- API Tokens - Generate and manage API tokens
Dashboard
The admin dashboard shows a global overview:
- Total users, roles, namespaces, projects
- System status
- Quick links to common actions
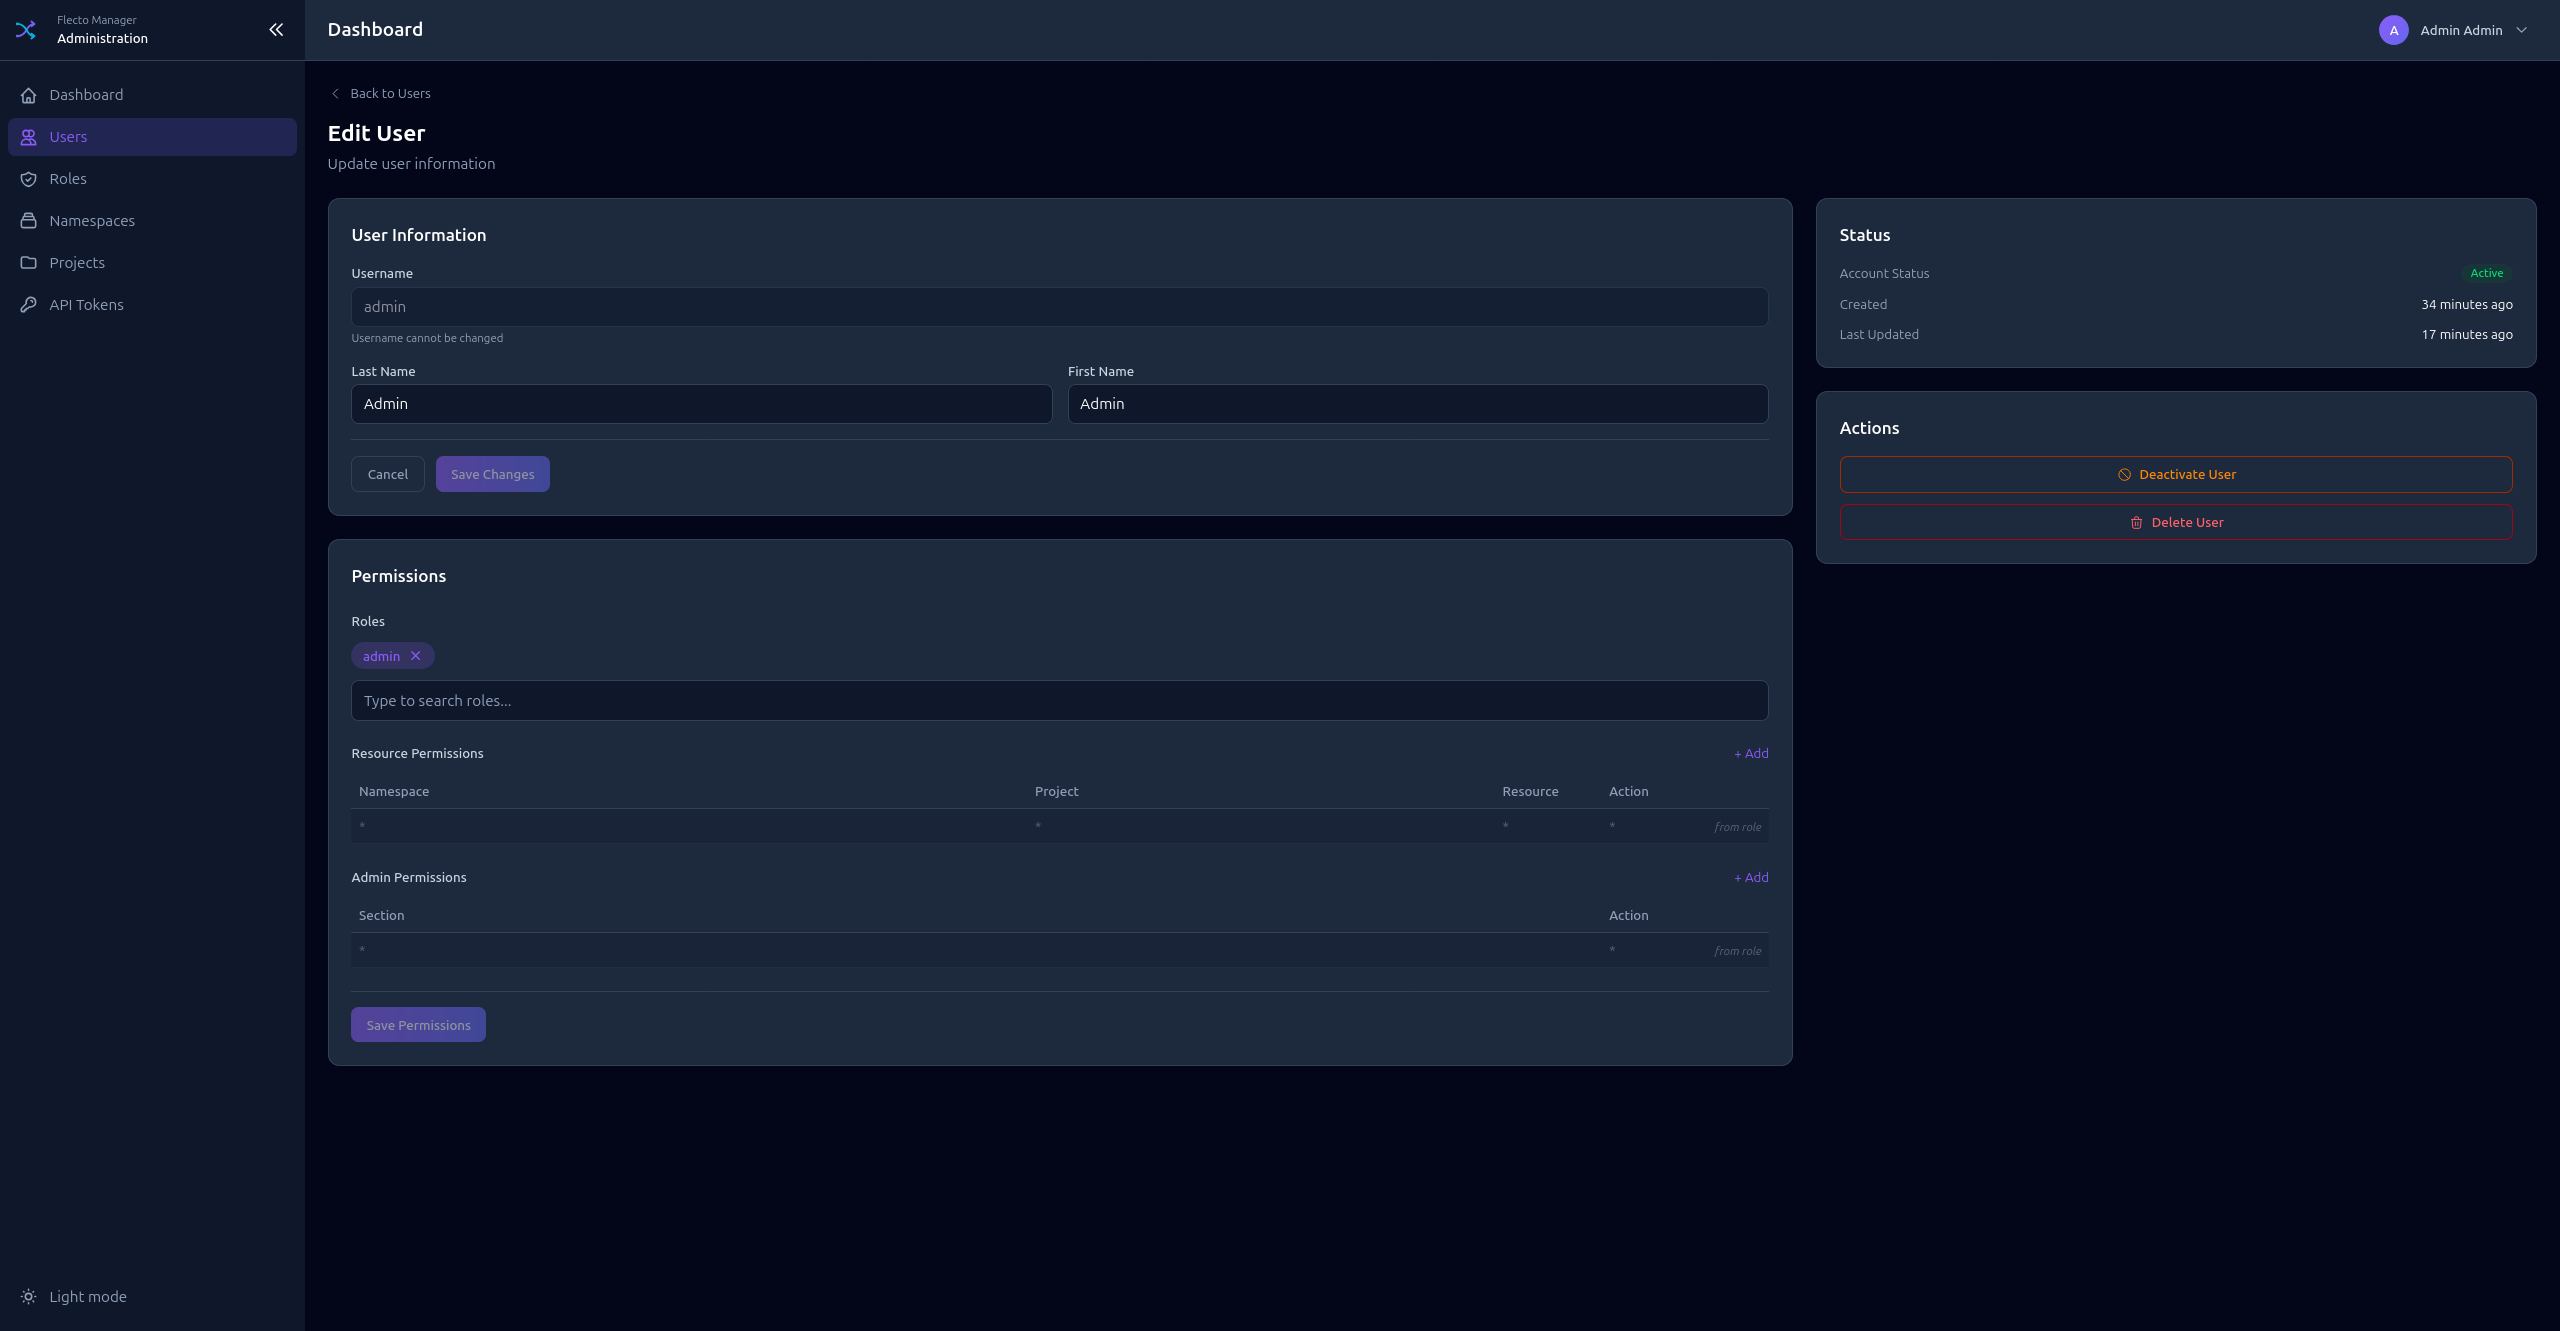
Users
Manage user accounts for the Manager.
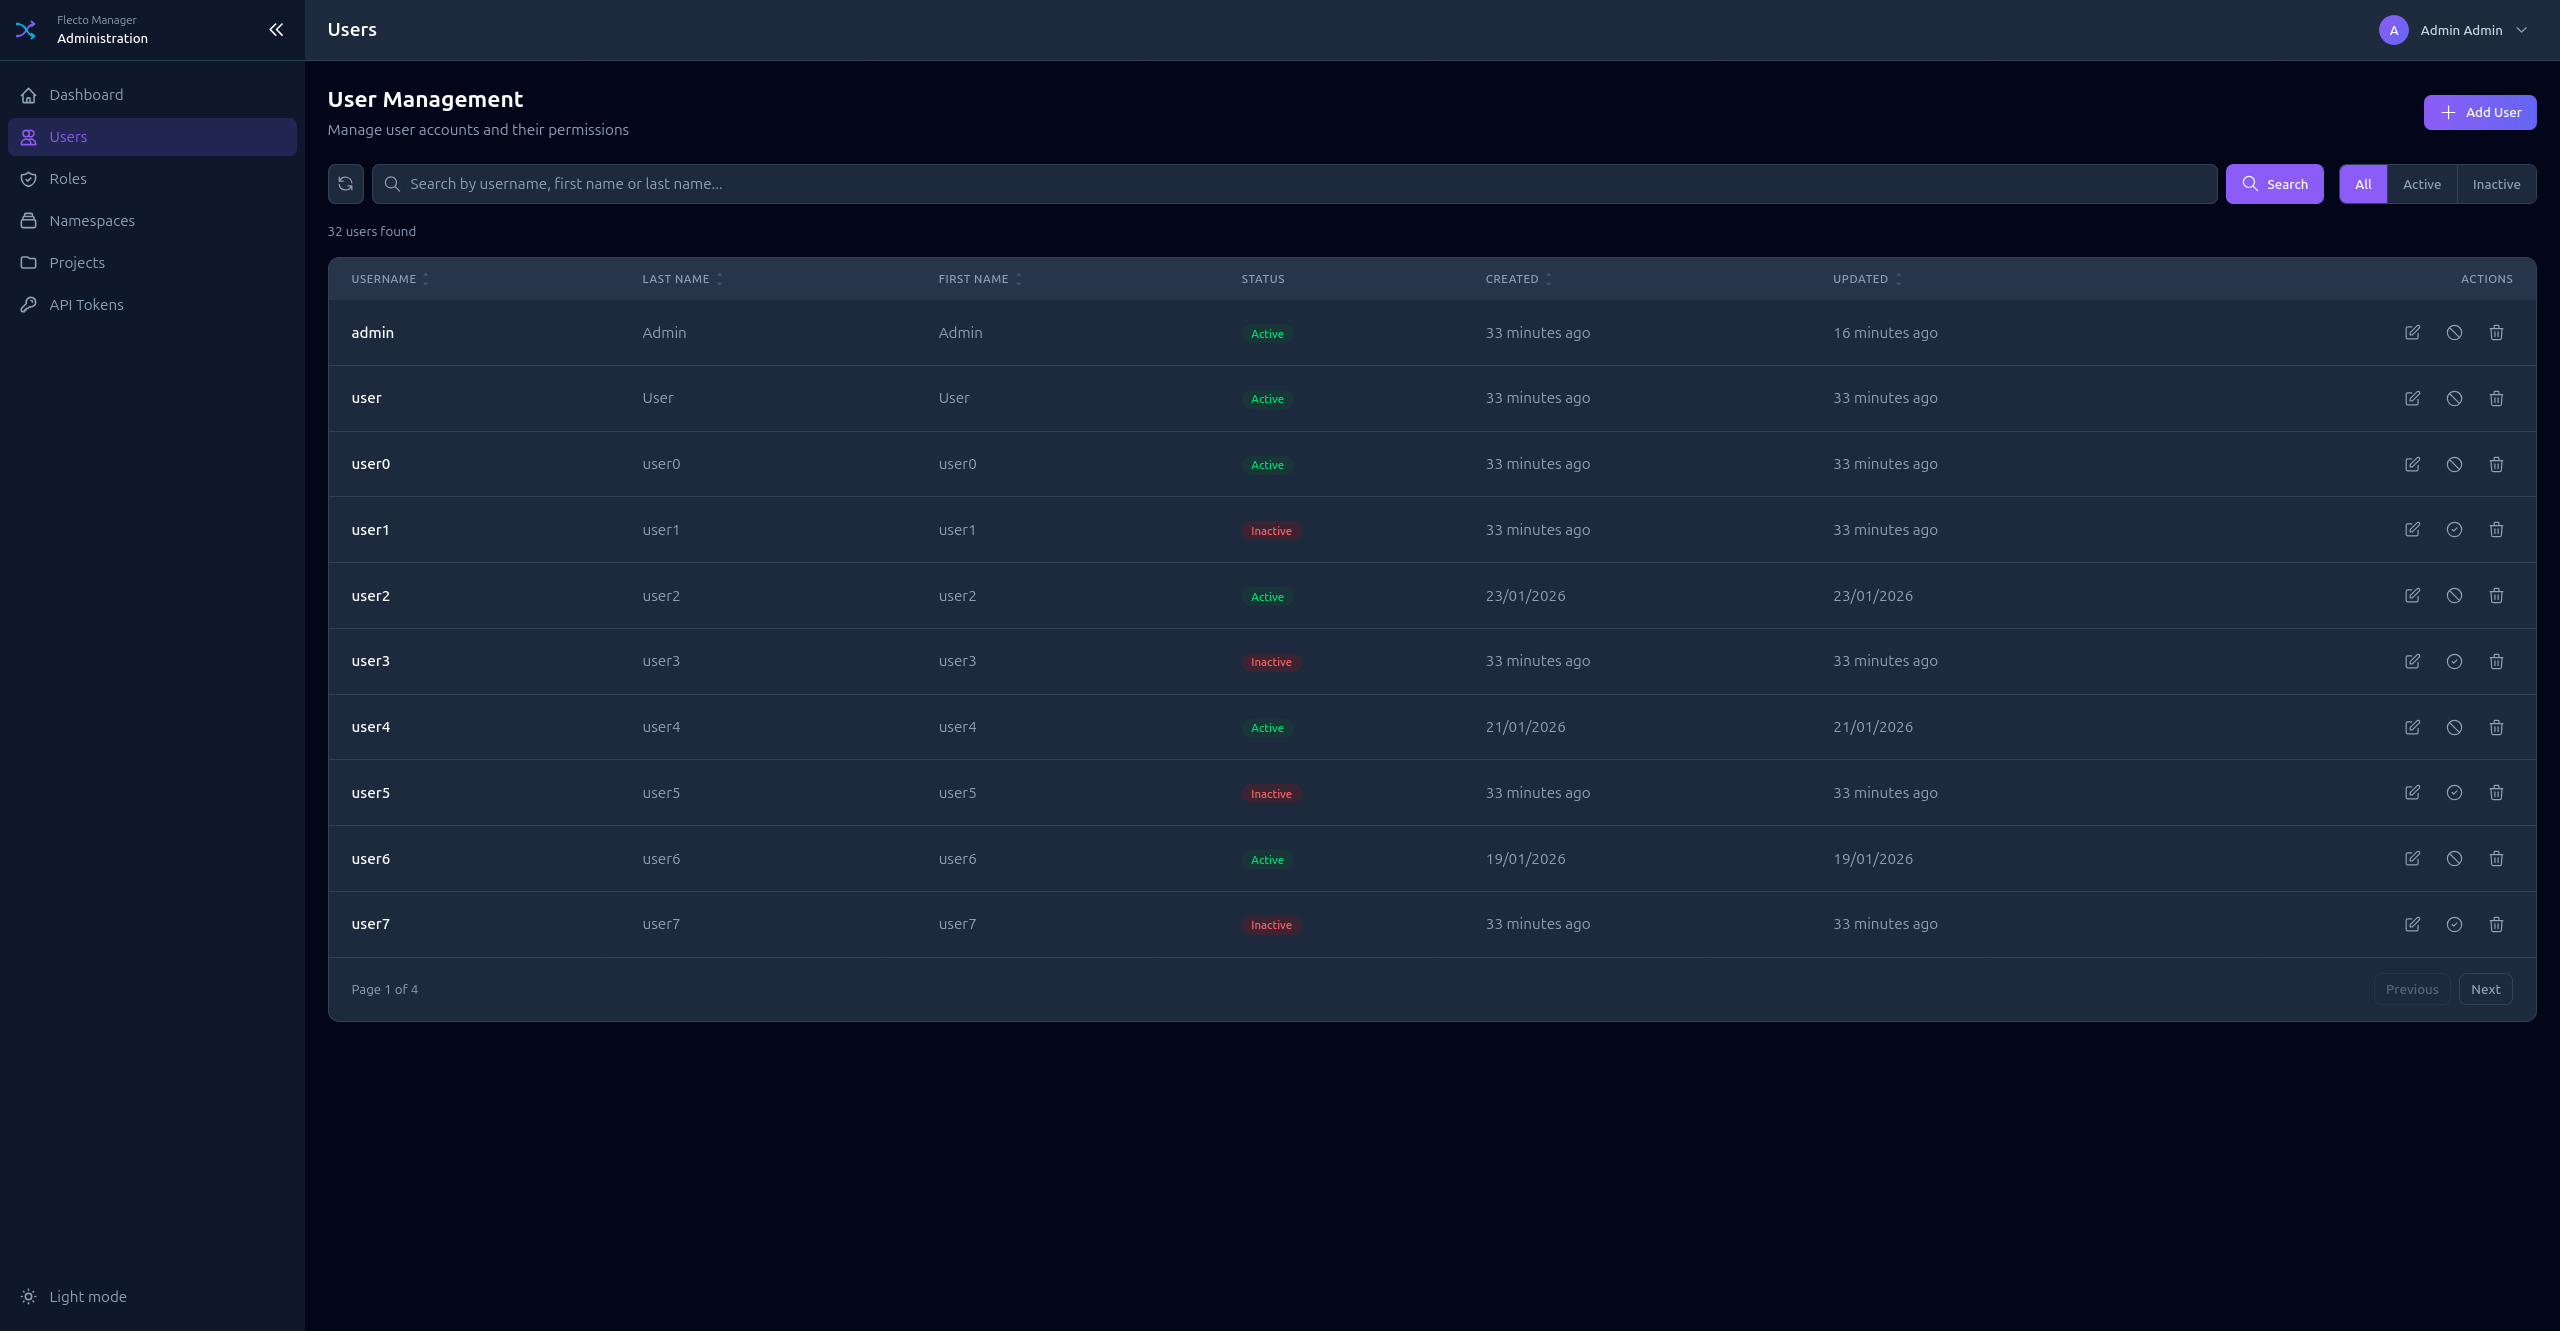
Creating a User
- Click Add User
- Enter Username (unique identifier)
- Enter Password
- Optionally add First name and Last name
- Assign Roles to the user
User Authentication
Users can authenticate via:
- Local credentials - Username and password
- OpenID Connect - If configured (Google, Keycloak, etc.)
Roles
Roles define what users can access and modify.
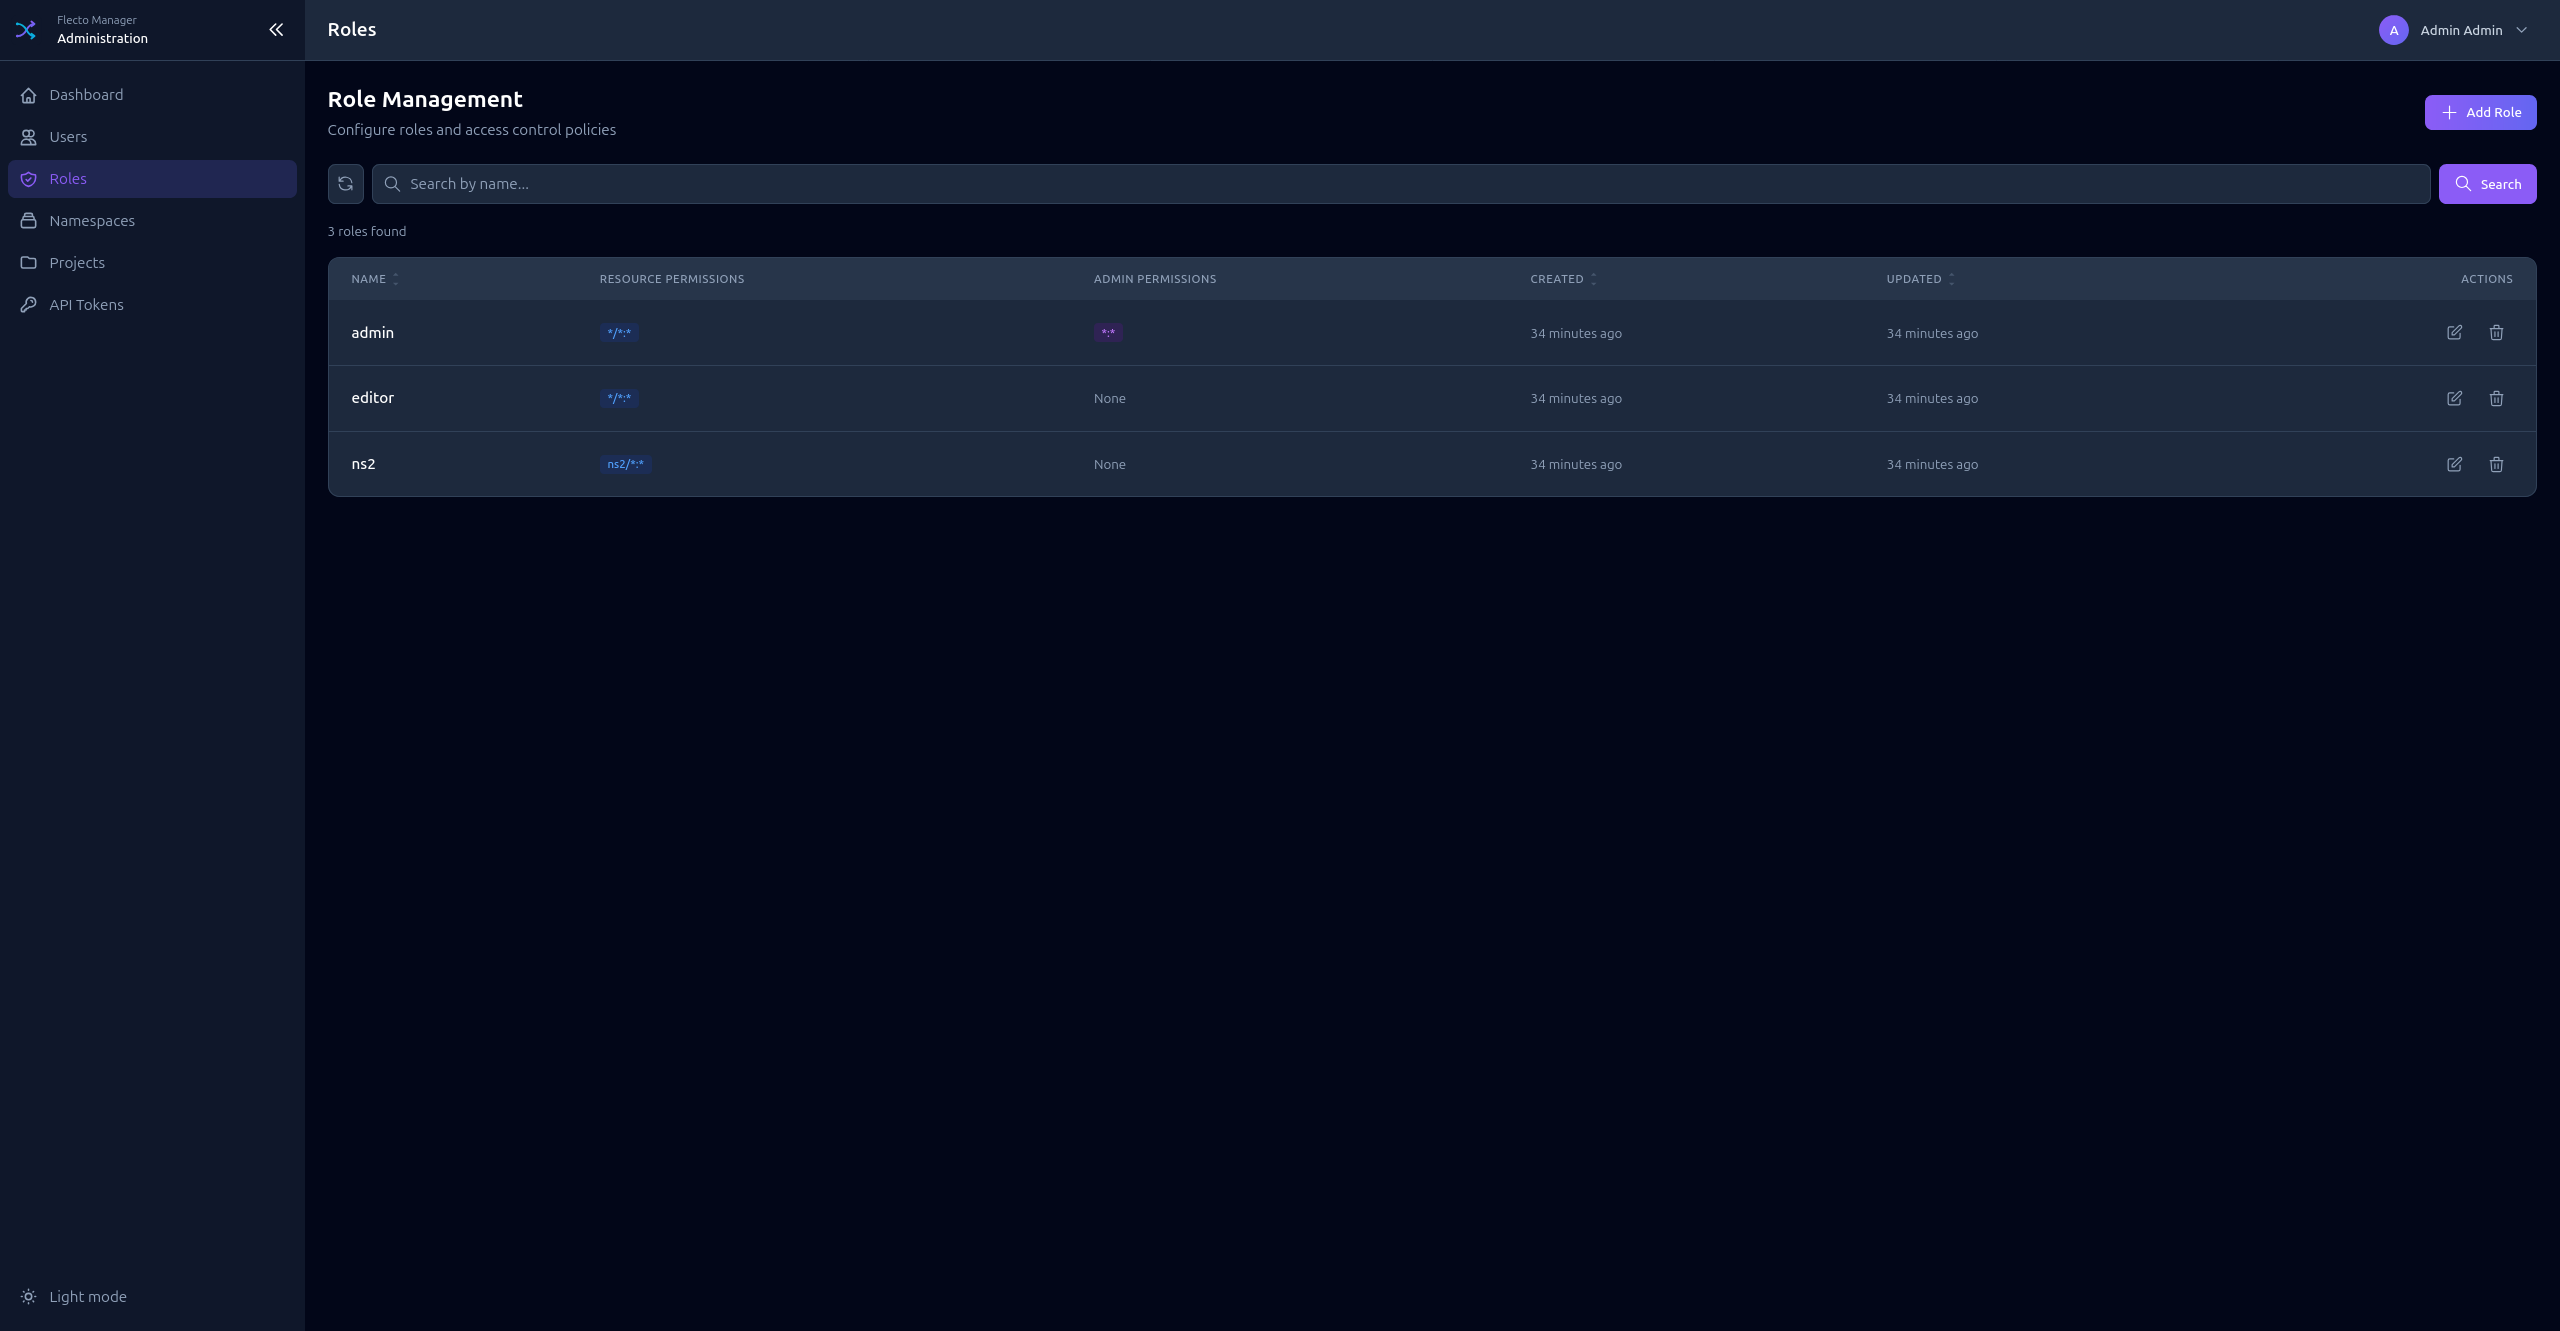
Creating a Role
- Click Add Role
- Enter a Name for the role
- Configure Admin Permissions (access to admin sections)
- Configure Resource Permissions (access to projects and resources)
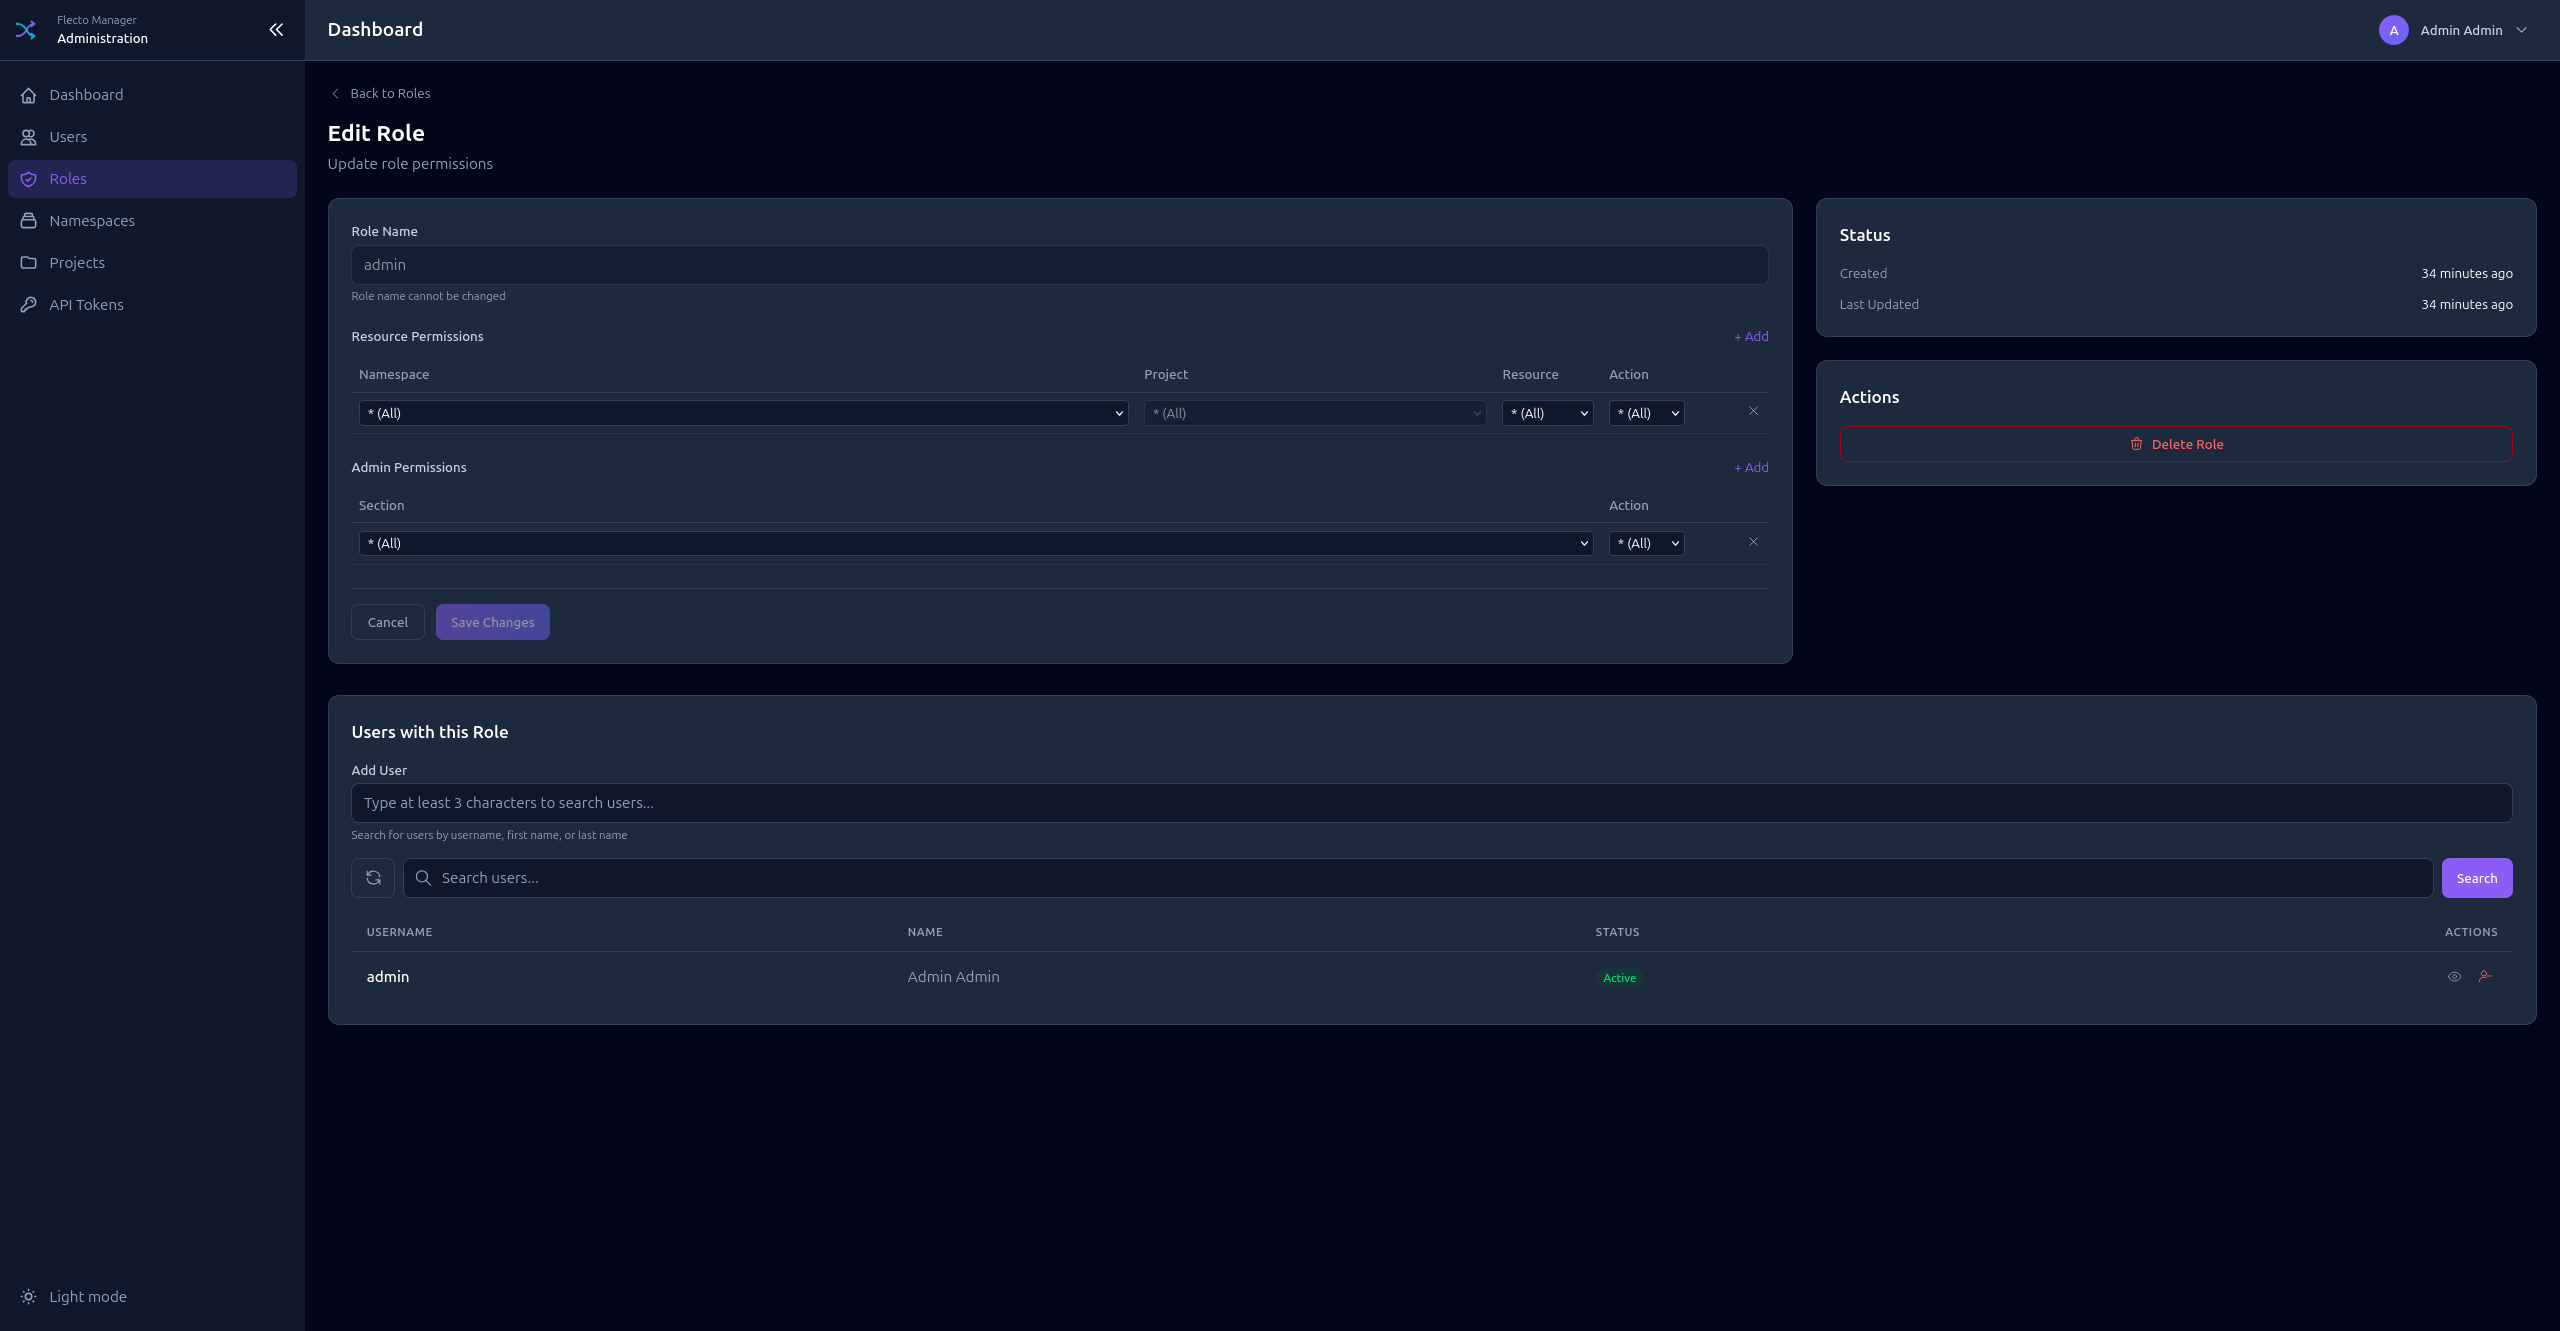
Admin Permissions
Control access to administration sections:
| Section | Description |
|---|---|
users | Manage users |
roles | Manage roles |
namespaces | Manage namespaces |
projects | Manage projects |
tokens | Manage API tokens |
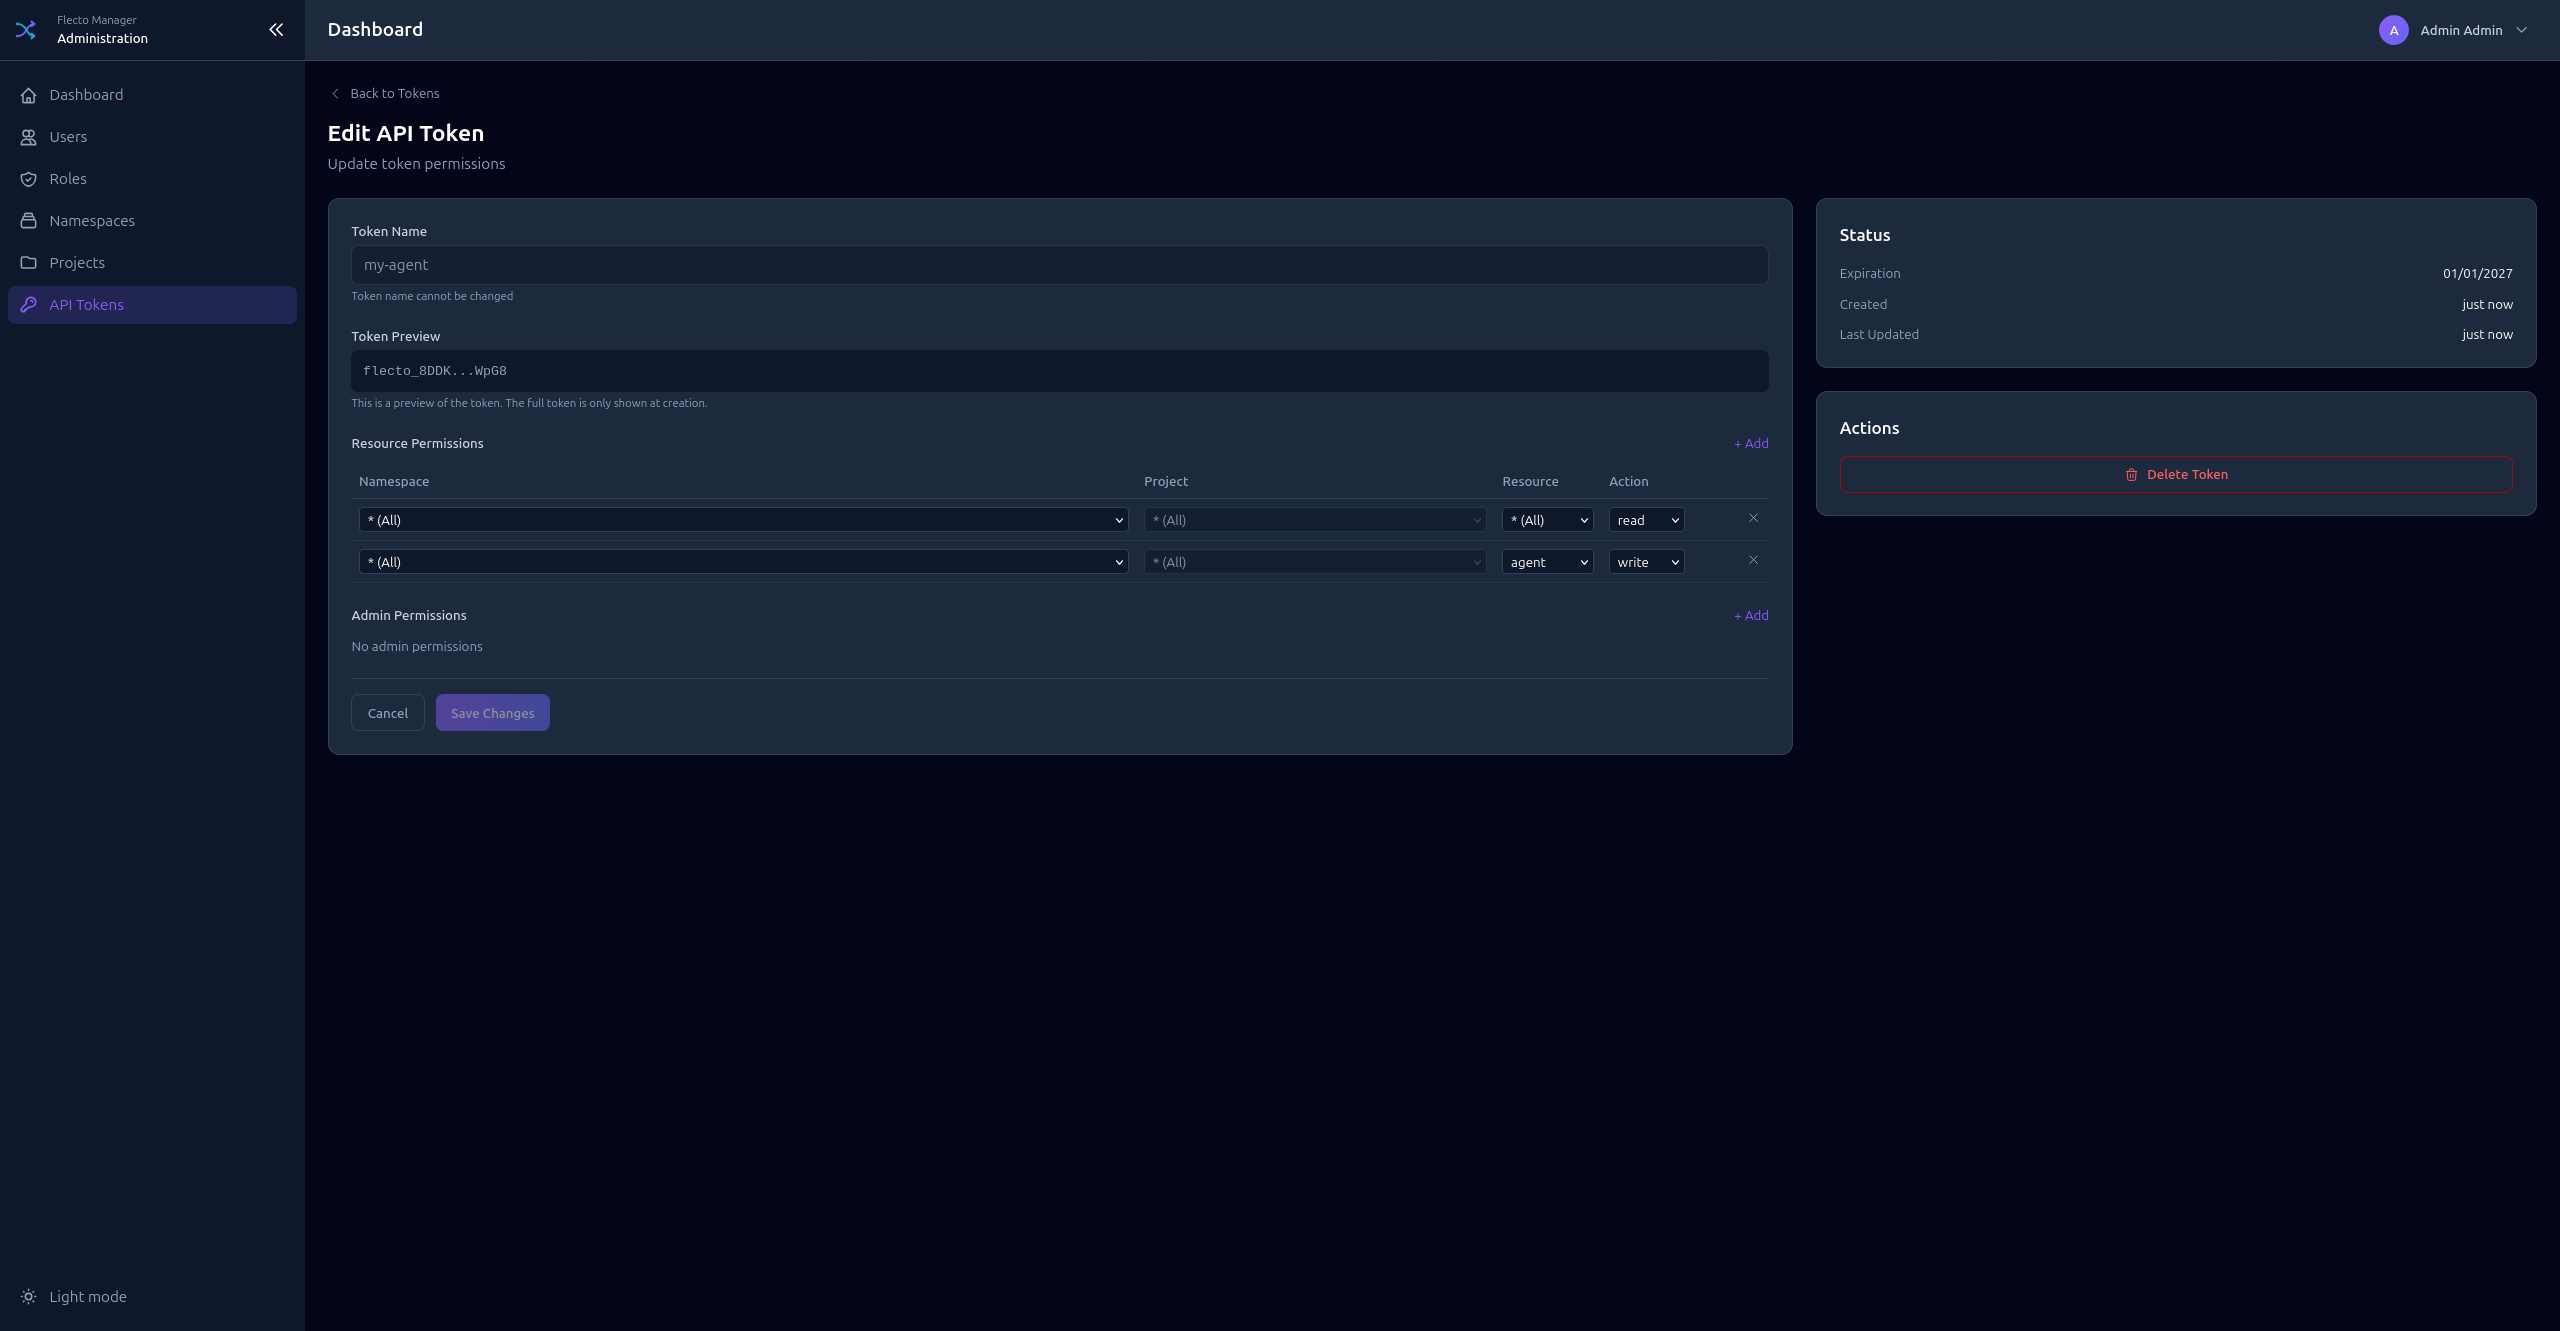
Resource Permissions
Control access to project resources:
| Field | Description |
|---|---|
| Namespace | * for all, or specific namespace code |
| Project | * for all, or specific project code |
| Resource | * for all, redirect, page, or agent |
| Action | read, write, or * for both |
Namespaces
Namespaces are top-level groupings for projects (e.g., production, staging).
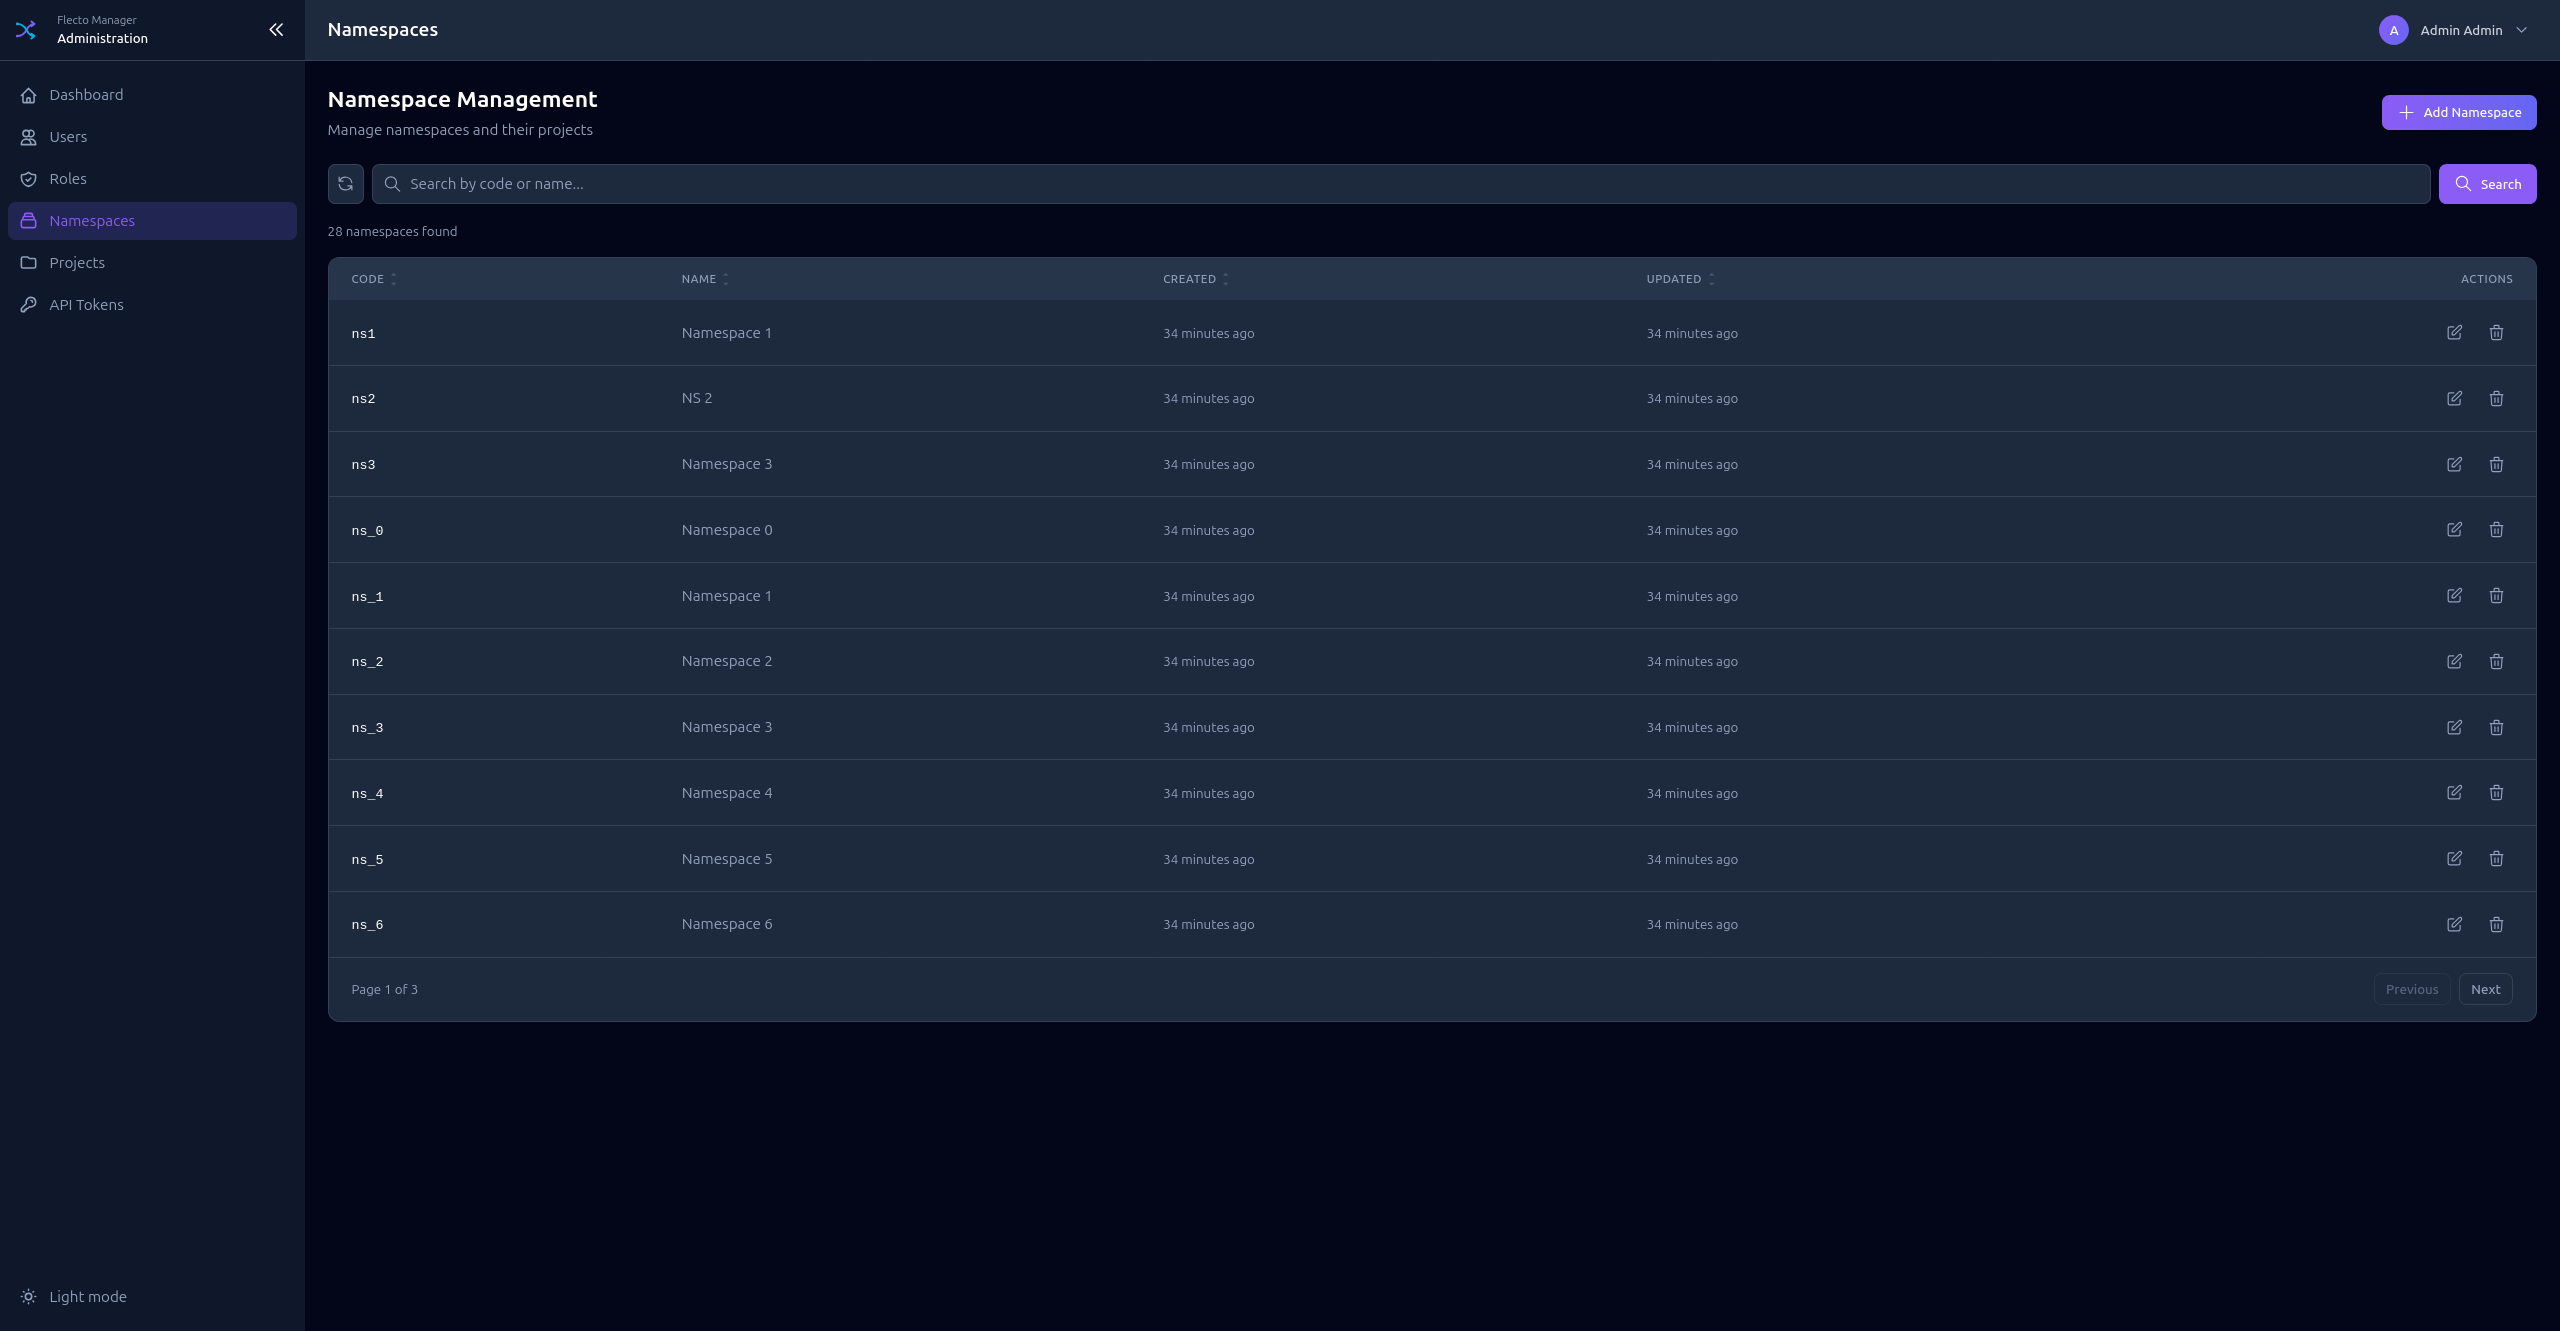
Creating a Namespace
- Click Add Namespace
- Enter a Code (unique identifier, used in URLs)
- Enter a Name (display name)
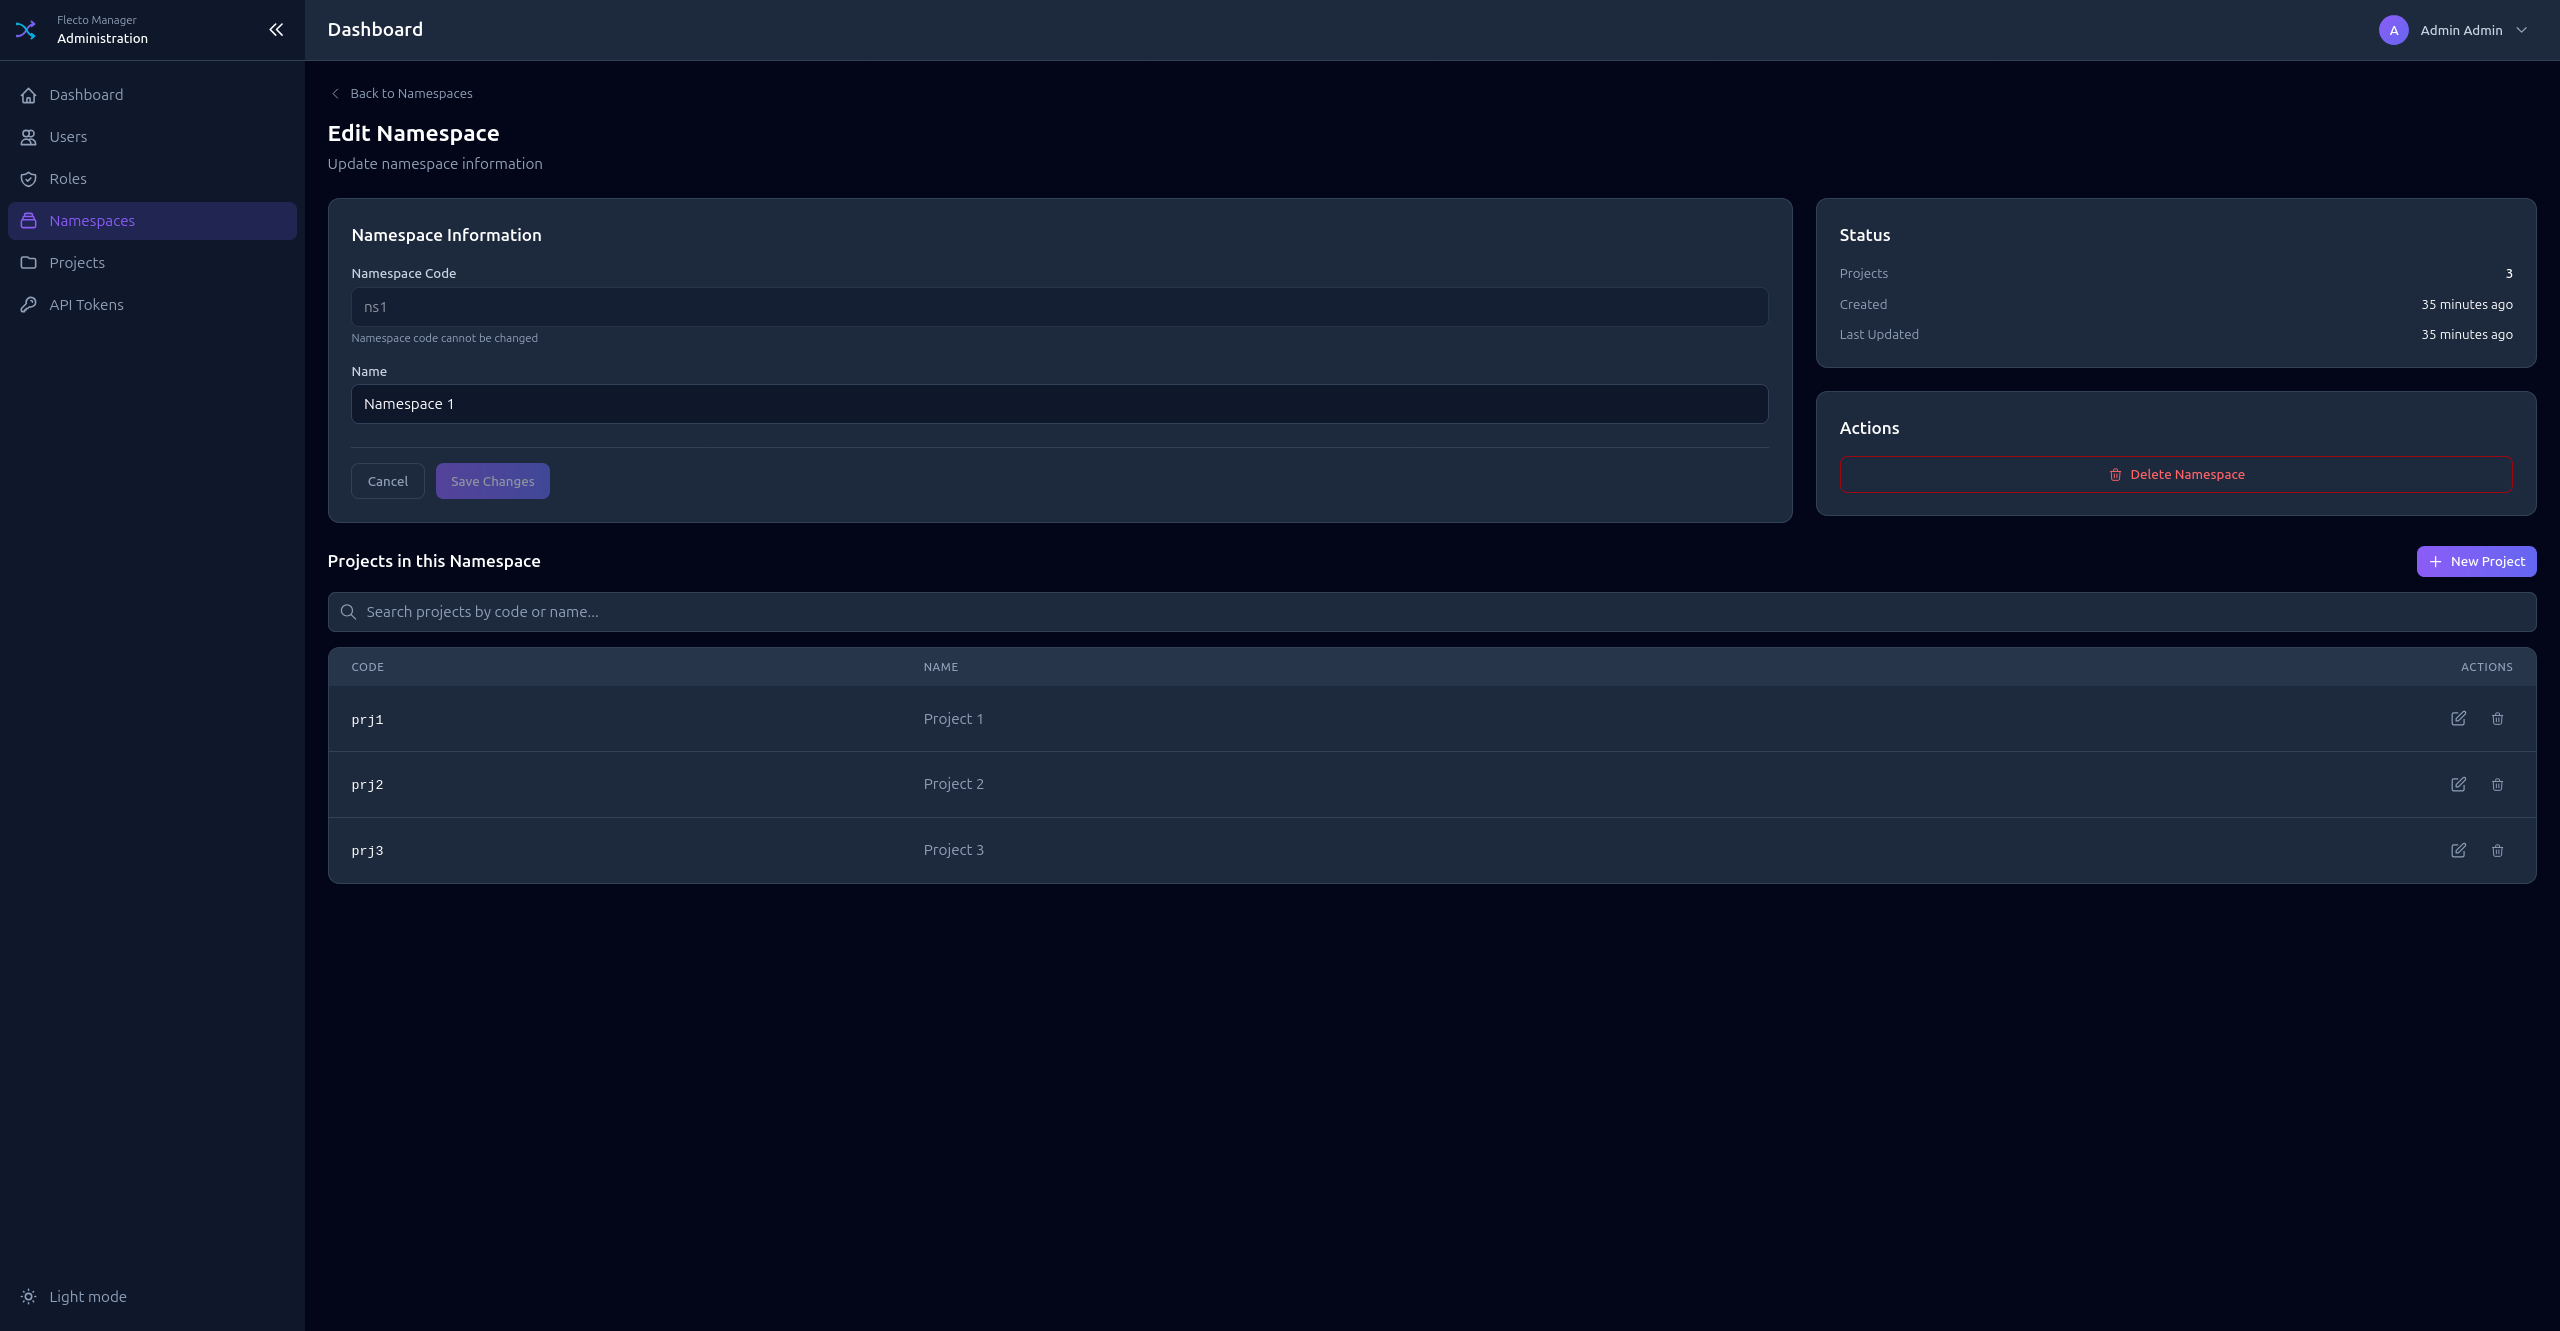
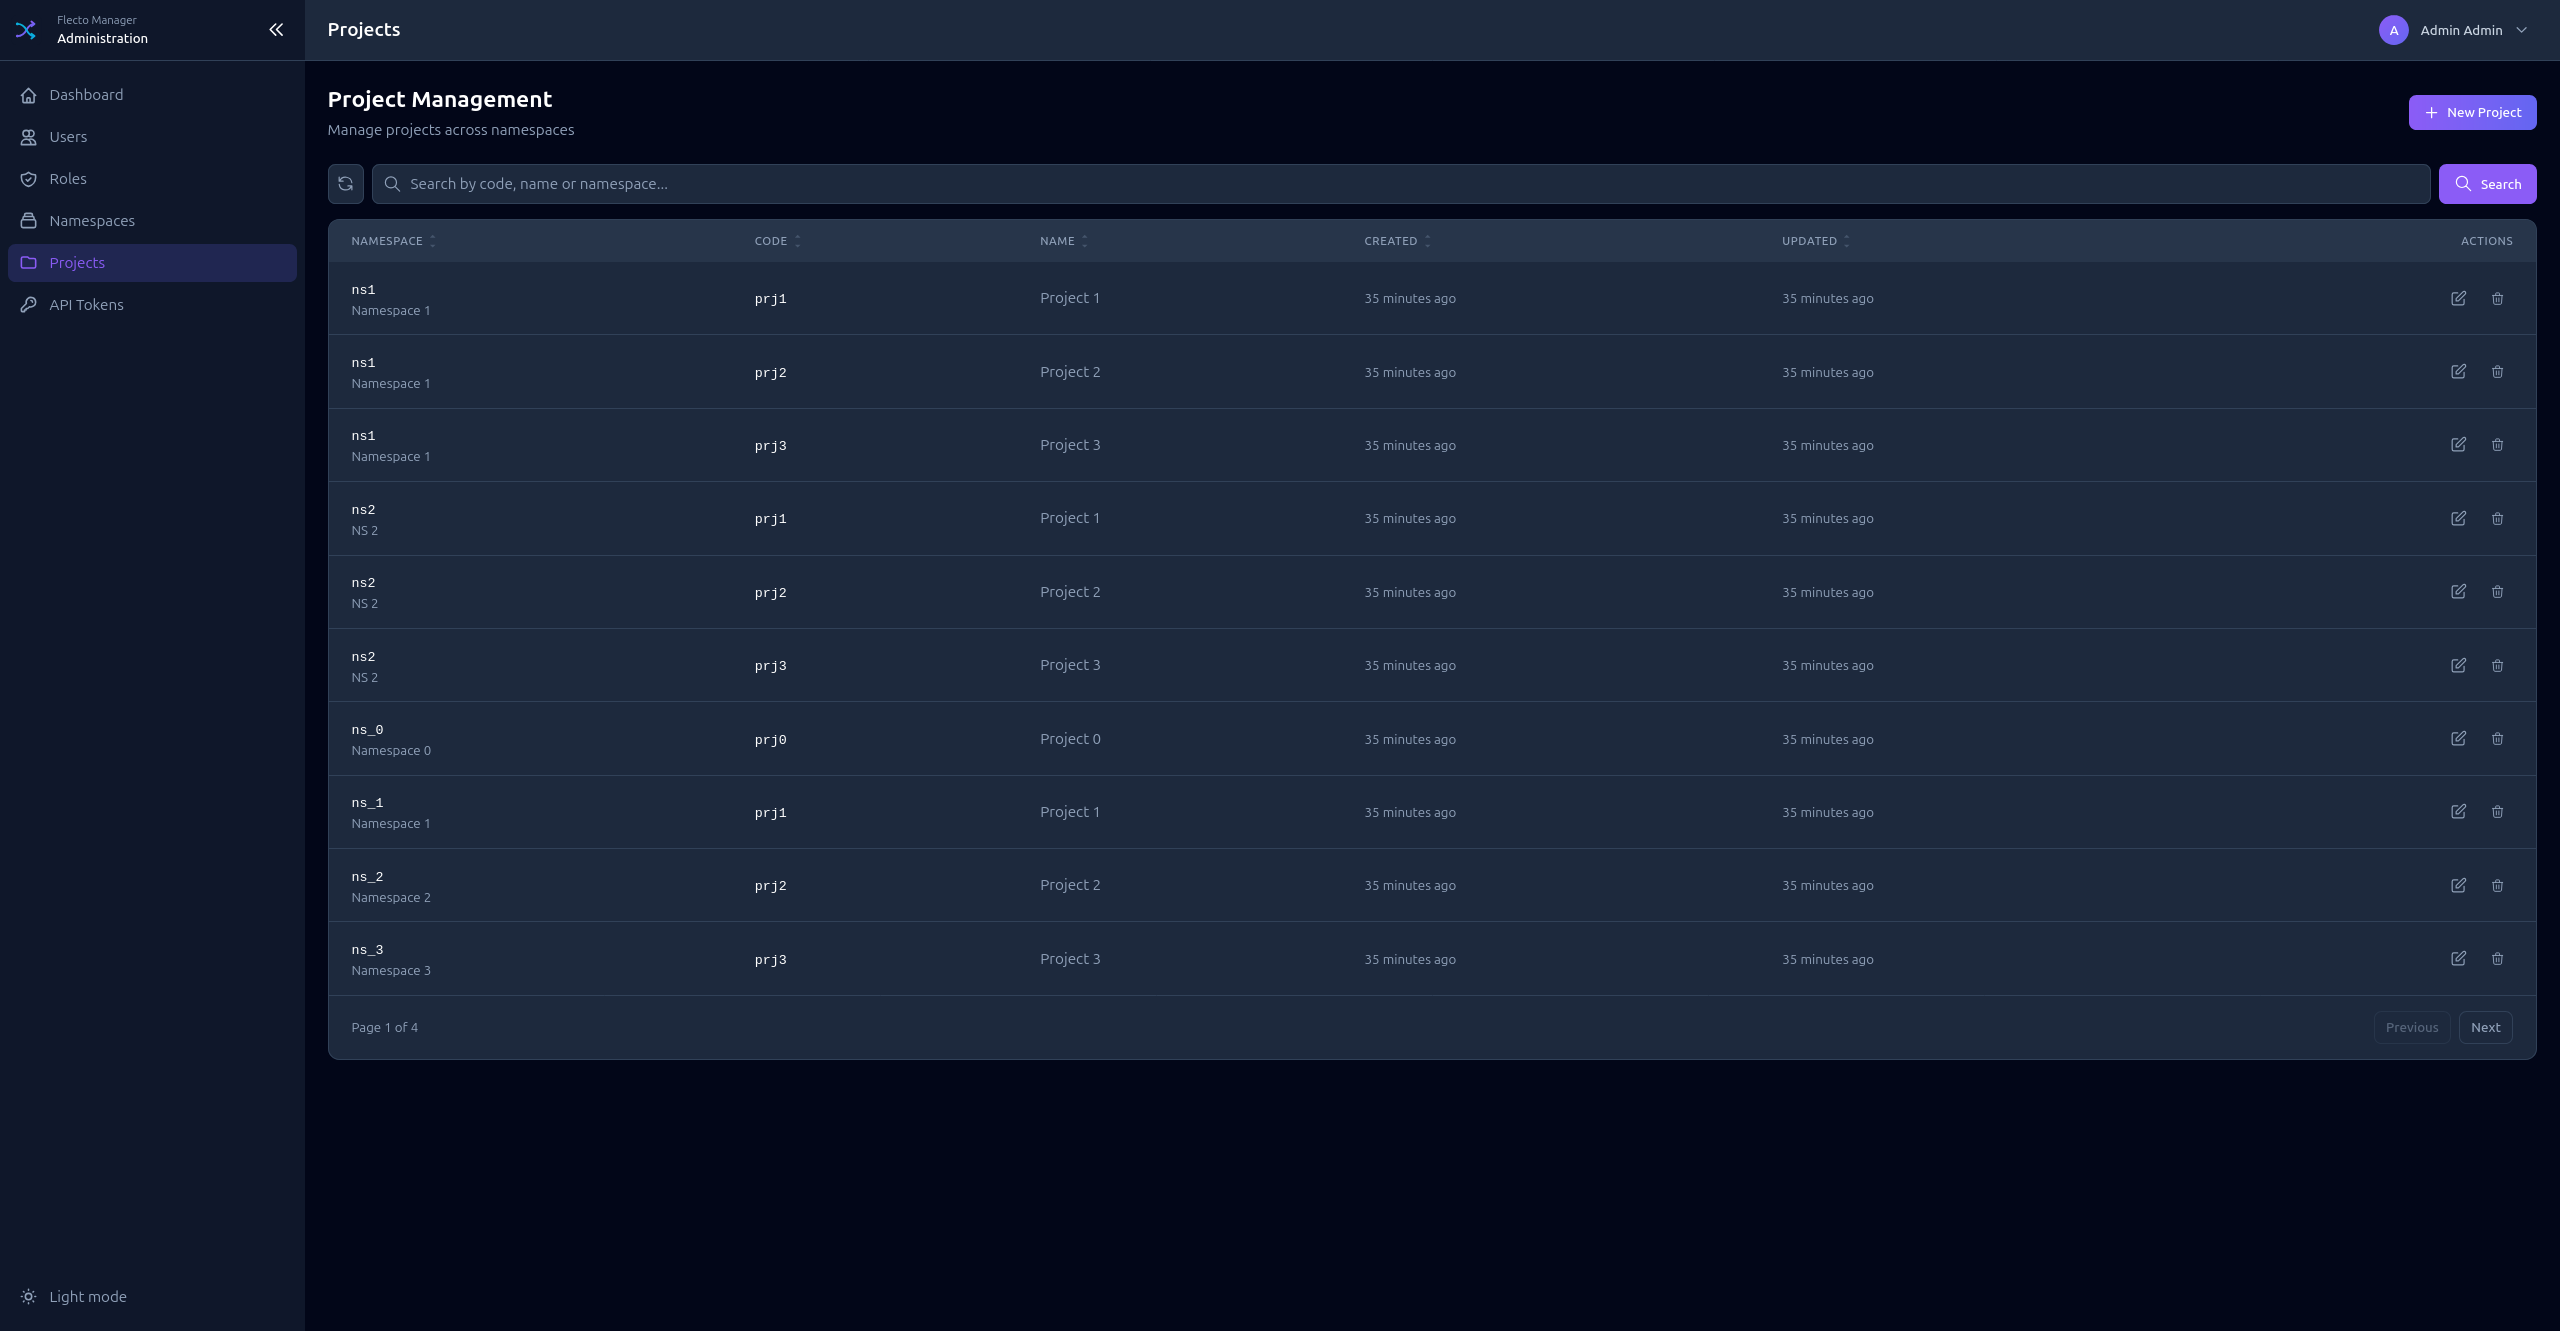
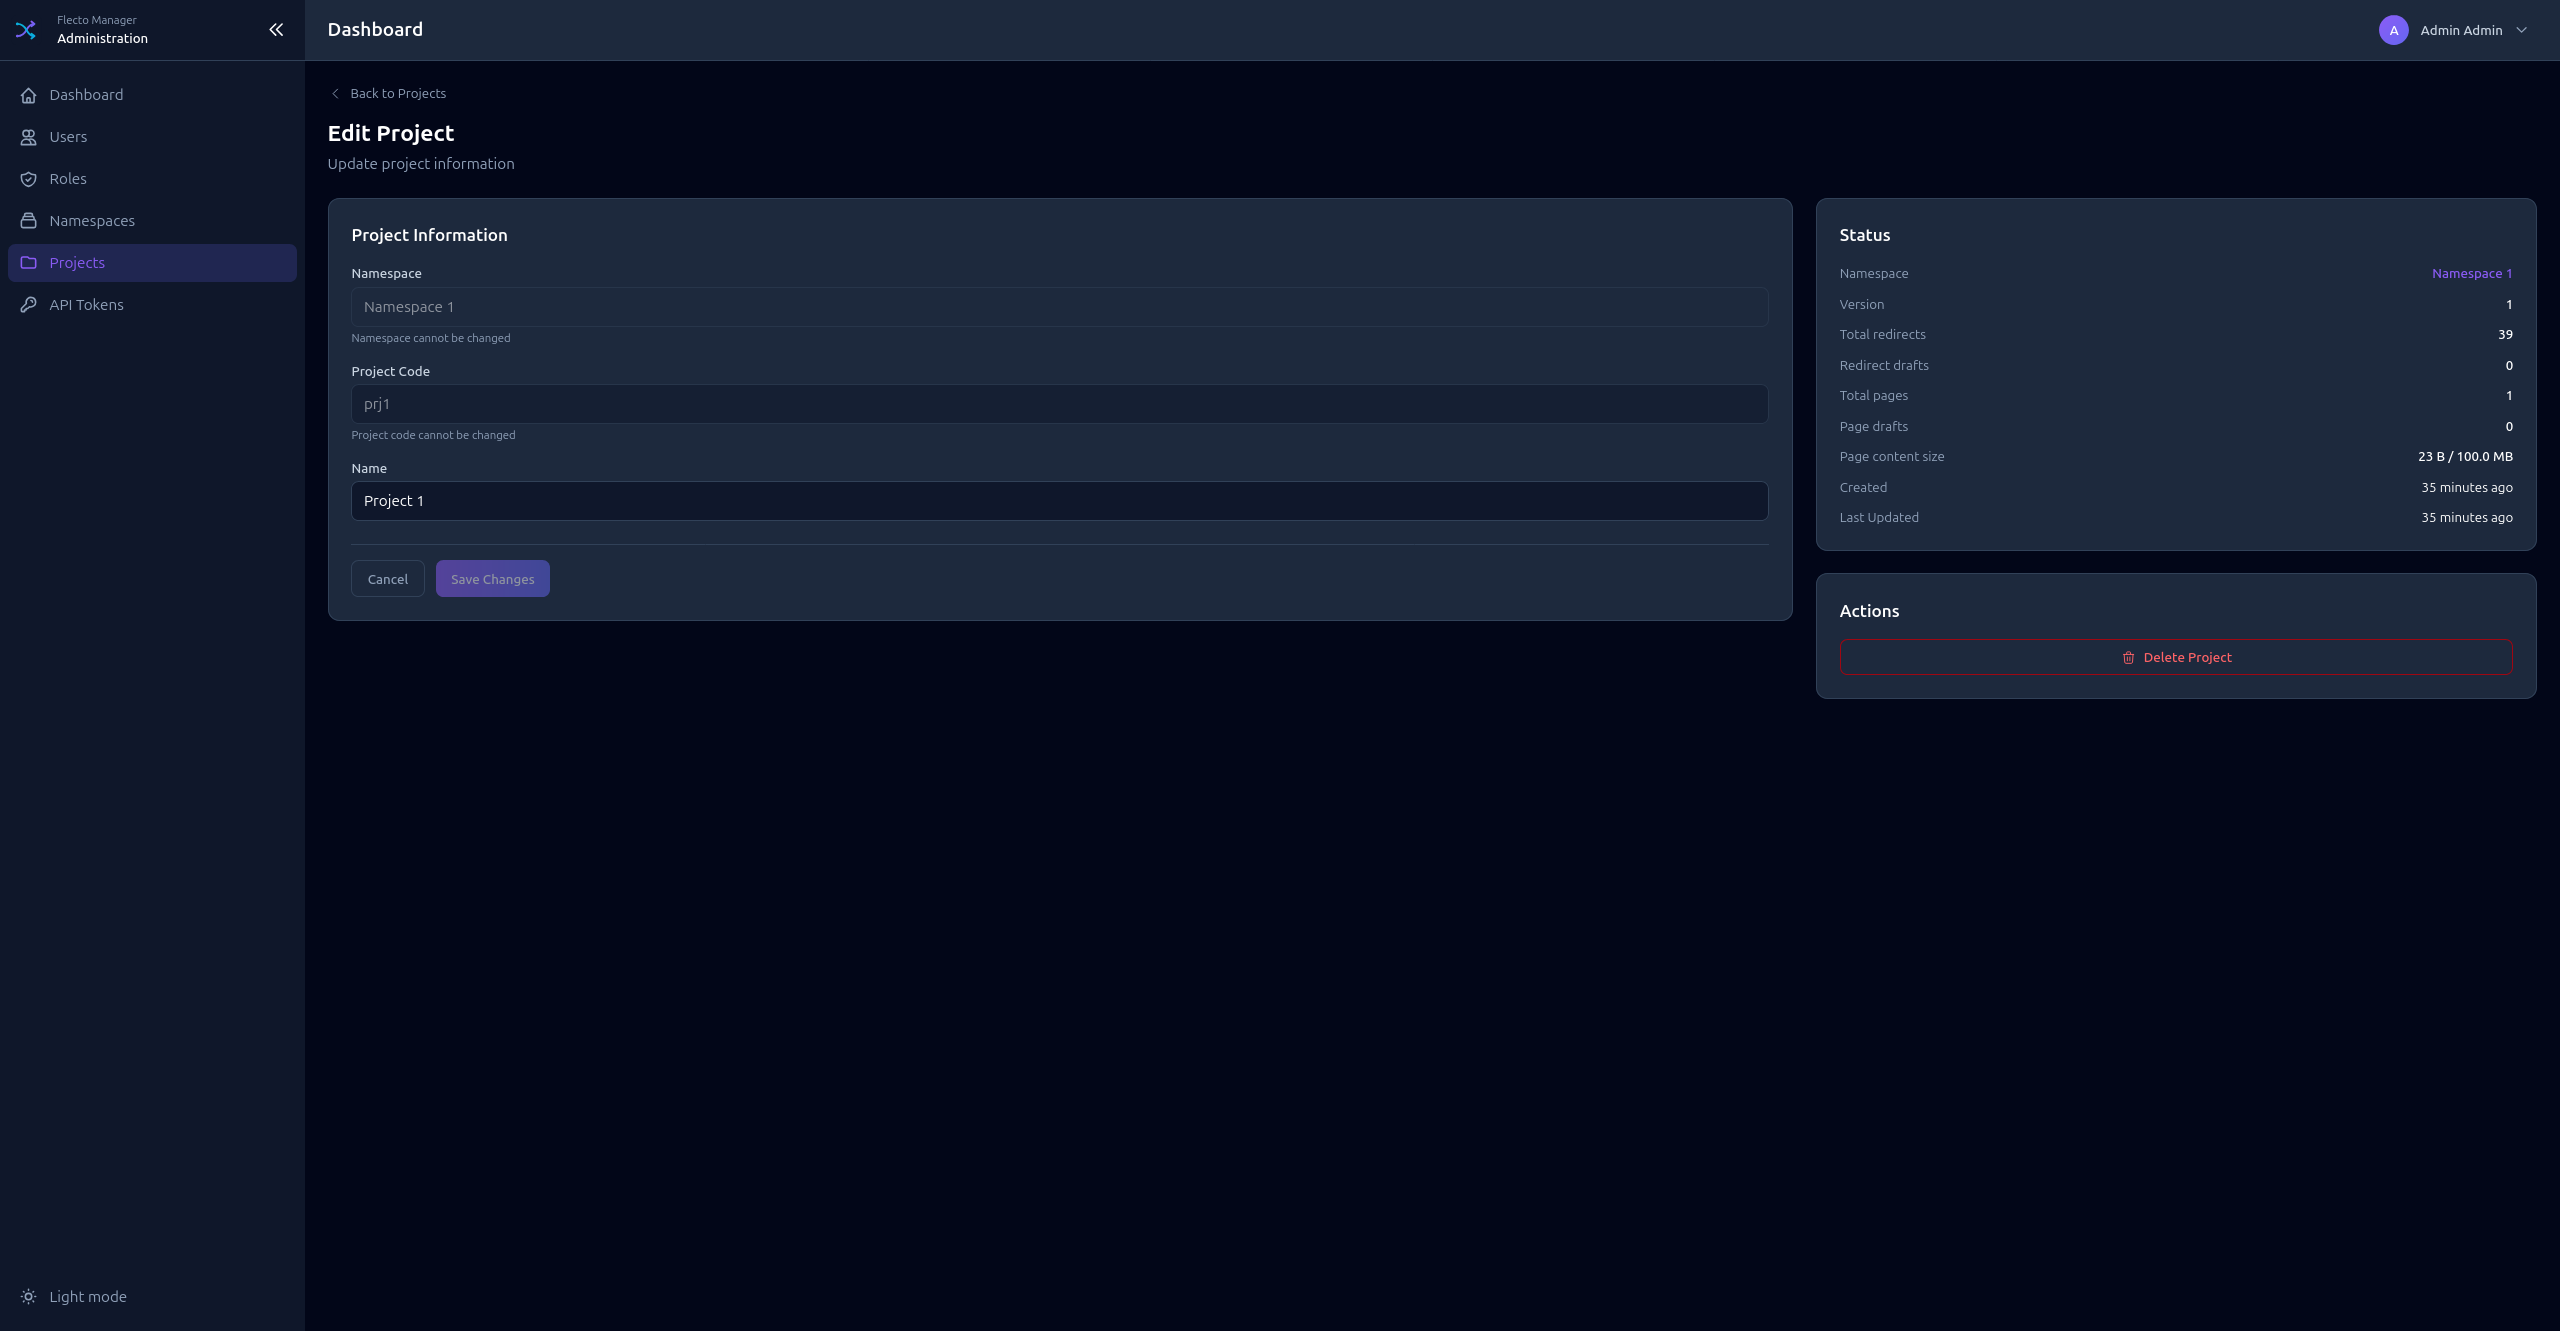
Projects
Projects belong to namespaces and contain redirects, pages, and agents.
Creating a Project
- Click Add Project
- Select the Namespace
- Enter a Code (unique within namespace)
- Enter a Name (display name)
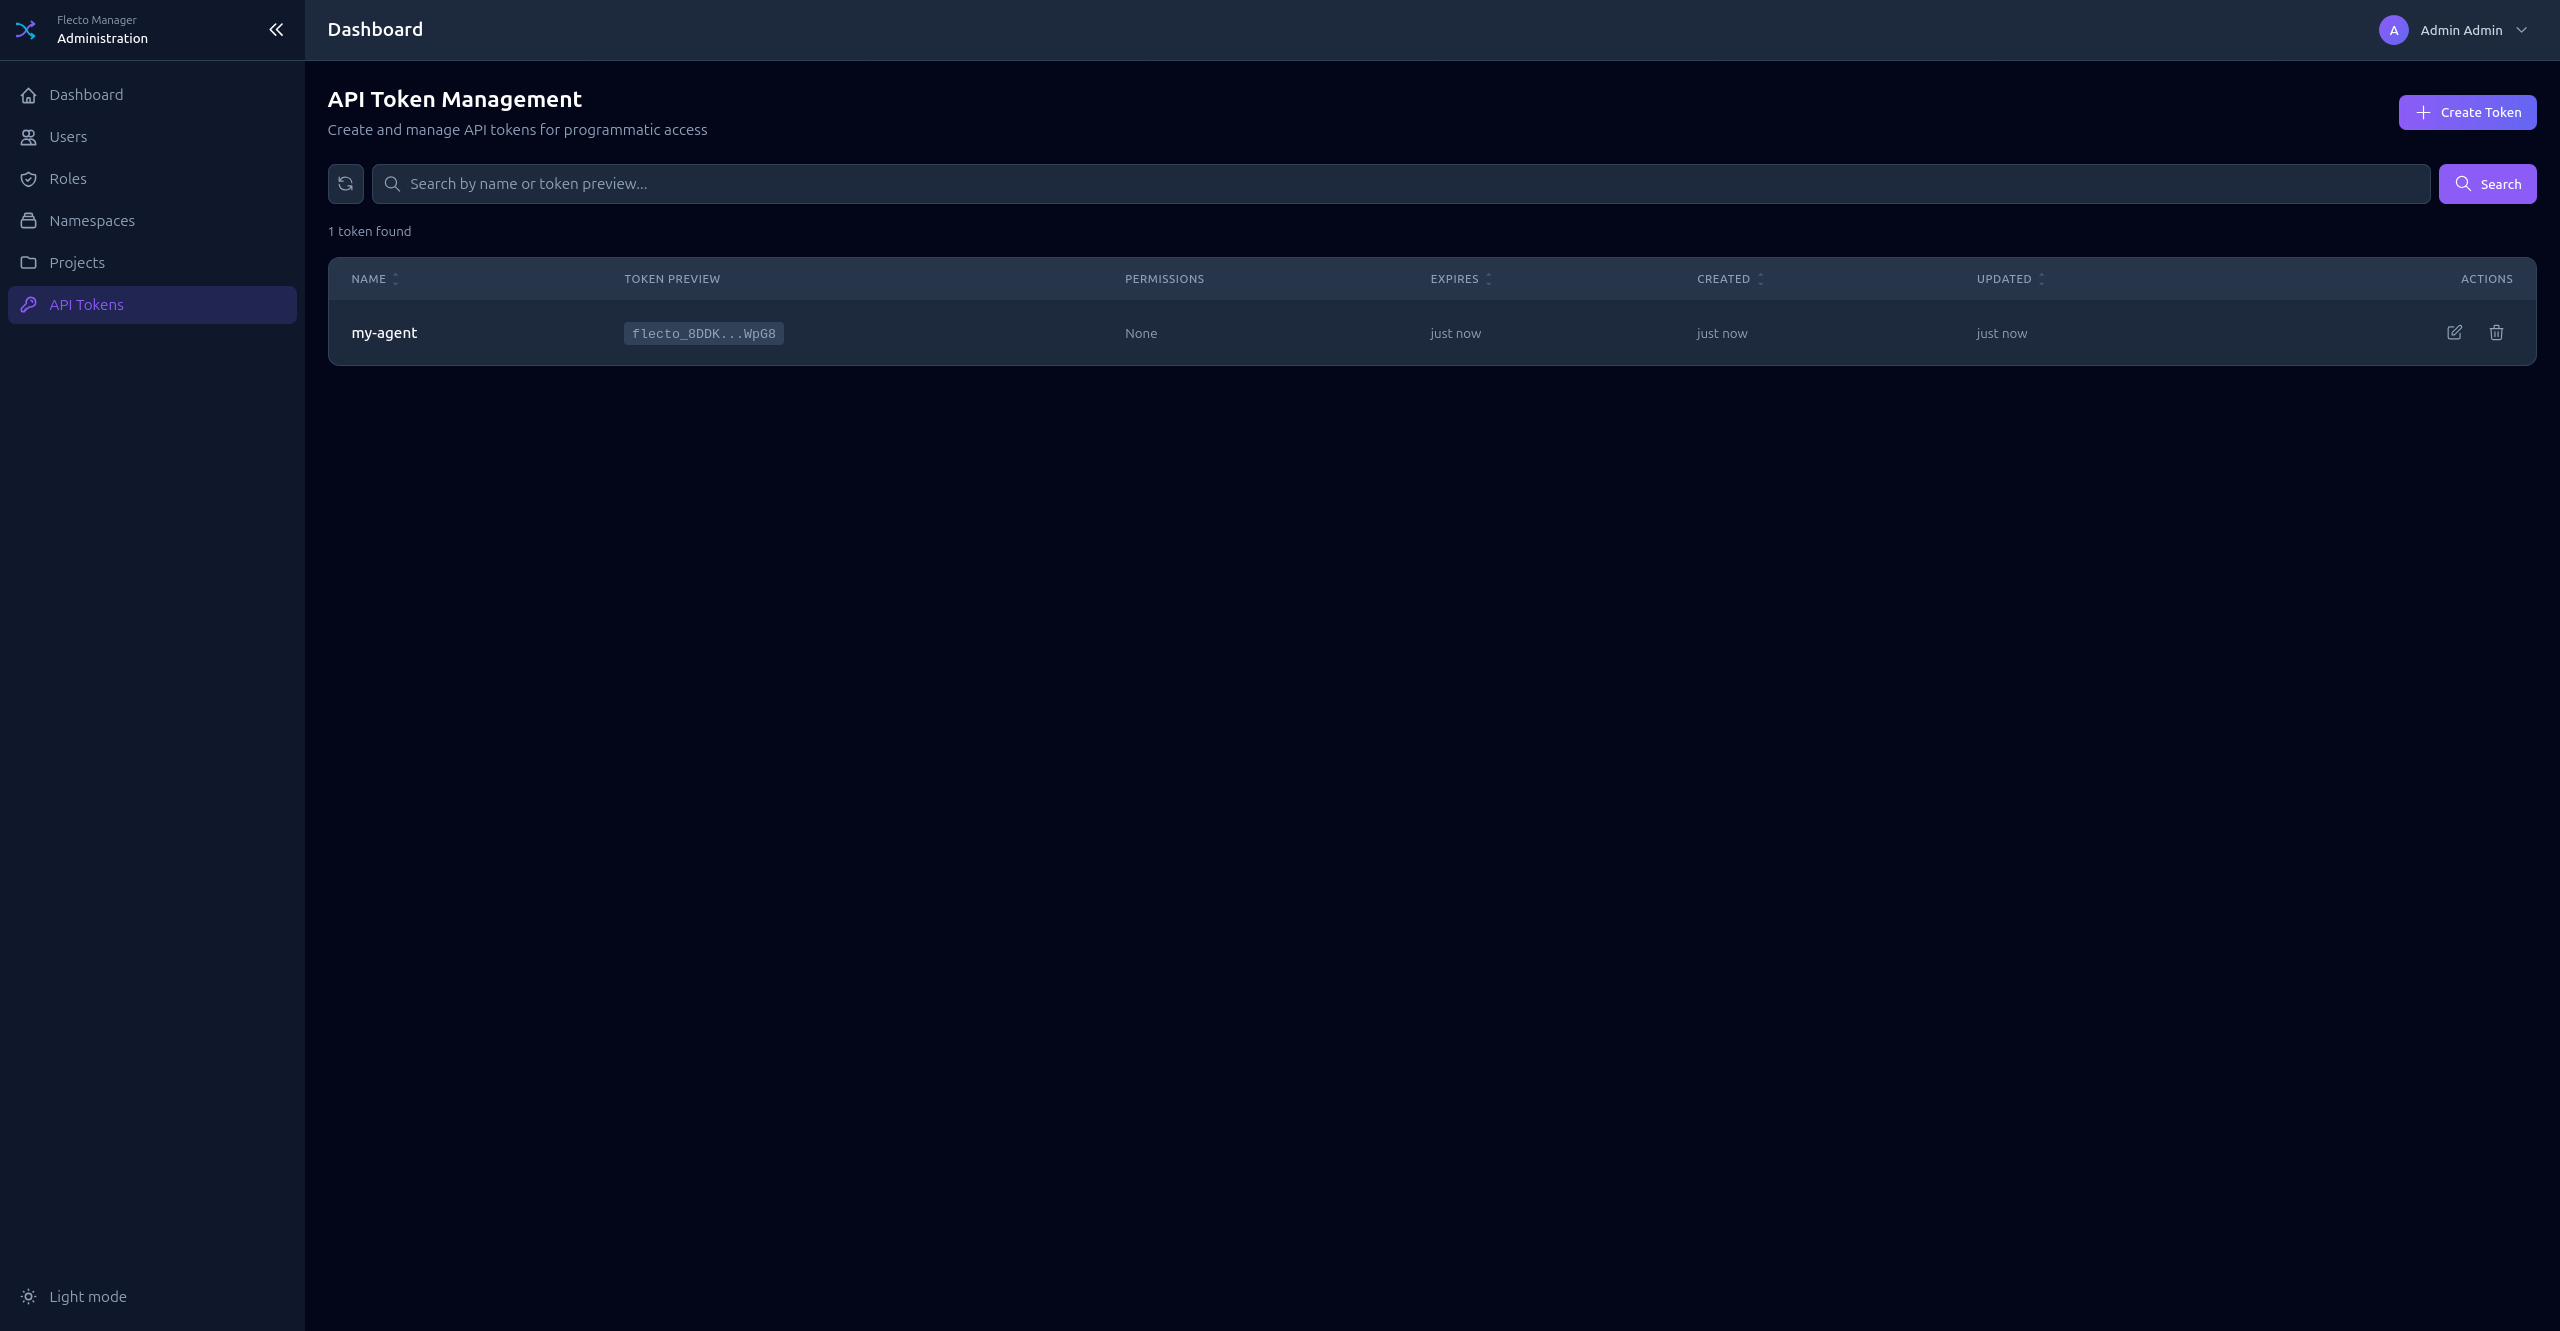
API Tokens
Generate API tokens for agents and automation.
Creating a Token
- Click Add Token
- Enter a Name (descriptive identifier)
- Set optional Expiration date
- Configure Permissions (same as role permissions)
- Click Create
- Copy the token immediately - it's only shown once!
Token Format
Tokens have the format: flecto_xxxxxxxxxxxx...
The token list shows a preview: flecto_abcd...wxyz
Token Permissions
API tokens have their own permissions, independent of user roles. Configure:
- Admin Permissions - For tokens that need admin access
- Resource Permissions - For tokens that access specific projects
For agents, create tokens with only the necessary resource permissions (read access to the specific namespace/project).